Upper Latria Fool's Idol Archstone (Also known as "World 3 - 2" or "Fool's Idol Archstone" in Demon's Souls) is a Location in Demon's Souls and Demon's Souls Remake. This area features the Archstone of the Demon Fool's Idol. The church devoted to an idol mimicking the queen gave hope to the prisoners, but the malice behind it will crush their faint solace. This area is characterized by its narrow and deadly walkways and protected by aggressive gargoyles. Upper Latria can be found in the Tower of Latria. Read on for a full Upper Latria Walkthrough.

General Info
- Previous: Prison of Hope
- Next: The Ivory Tower
- Bosses: Maneater
Video Walkthrough
Map
NPCs
Bosses
Items
Consumables
- x4 Augite of Guidance
- x1 Archstone Shard
- x2 Dark Moon Grass
- x2 Fresh Spice
- x13 Aged Spice
- x3 Stone of Ephemeral Eyes
Equipment
- x1 Moon Short Sword +1
- x1 Rune Sword
- x1 Flamberge
- x1 Epee Rapier
- x1 Rune Shield
- x1 Gold Mask
- x1 Fragrant Ring
- x1 Plague Resistance Ring
- x1 Ring of Avarice
- x1 Gloom Helm (Yurt Drop)
- x1 Gloom Armor (Yurt Drop)
- x1 Gloom Gauntlets (Yurt Drop)
- x1 Gloom Greaves (Yurt Drop)
Souls
- x1 Legendary Warrior Soul
- x1 Mixed Demon Soul
- x4 Renowned Hero Soul
- x4 Renowned Warrior Soul
- x2 Storied Hero Soul
- x3 Storied Warrior Soul
Stones
Key Items
- Prison of Hope 2F West Key (Pure White Tendency)
Enemies
- Black Phantom Mind Flayer
- Prisoner
- Man Centipede
- Giant Man Centipede
- Gargoyle
- Prisoner Horde
Upper Latria World Tendency Events
White World
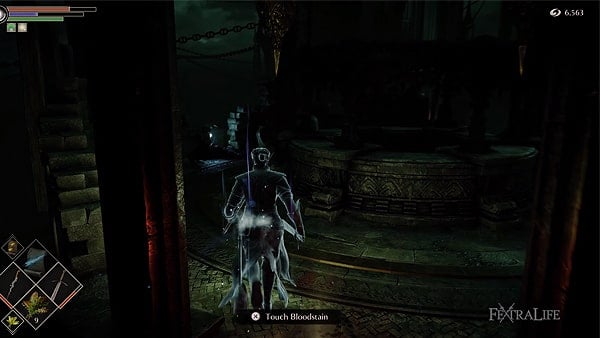
On top of the first tower where the first chain is released, a bridge will appear that gives access to the very top, where the Prison of Hope, 2F W Cell Key, that unlocks Rydell's cell, it can be looted off a body. Pure White World Tendency required for the wooden bridge to appear. Once unlocked, this bridge will remain there even if World Tendency changes later.
Black World
Two Black Phantom Giant Man Centipede at the swamp.
One Black Phantom Giant Man Centipede on a bridge leading to second chain tower, just past the Crystal Lizard.
A Primeval Demon is at a dead-end, accessed from the boardwalk; it is next to where the Ring of Disease Resistance is found.
- Note: The Primeval Demon shows up in Pure Black World Tendency and is likely to drop a Colorless Demon's Soul when killed.
Black World Tendency Events in Latria
- In Latria, it is impossible to go from 3-2 back to 3-1, without going by The Nexus. Most players will want to defeat both the NPC Black Phantom and the Primeval Demon in one go, to avoid achieving Black World Tendency more than once. It is therefore advisable to start from 3-1 and take out Black Phantom Lord Rydell first, then move into 3-2 to deal with the Primeval Demon.
- Sodden Ring (Remake only) Behind a pillar near Prisoner Horde in the depths of Upper Latria 3 - 2. Requires Pure Black World Tendency.
Full Fool's Idol Archstone (Upper Latria) Walkthrough
Upper Latria: Starting Point
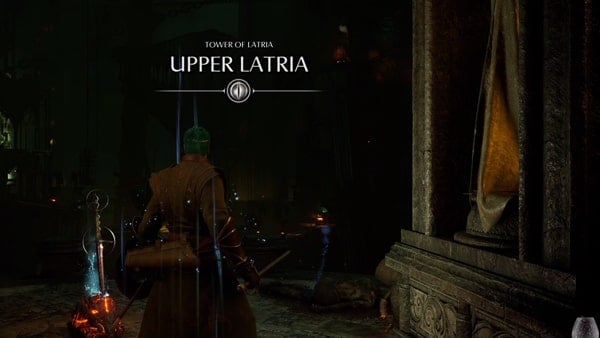
Upper Latria in Demon's Souls Remake or originally known as "World 3 - 2" in Demon's Souls becomes available after defeating Fool's Idol in Tower of Latria or the Prison of Hope. If you are coming from The Nexus, you can interact with the Archstone of the Tower Queen and travel to Upper Latria.

Cross the bridge until you reach a circular platform, once there a Gargoyle will start approaching you from your left side. On one of the paths leading to the right, you can find x1 Renowned Hero Soul. Take the stairs down from the circular platform, you will in front of two columns on either side of the walkway. The Gargoyle on top of the left column will attack you. Kill it. Keep going and you will arrive at another circular platform.
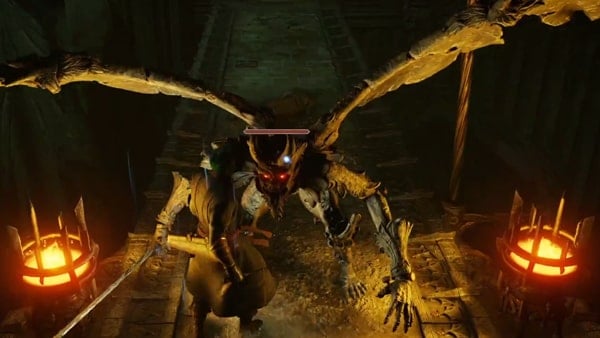
Keep going forward, you will be attacked by another Gargoyle, after dealing with it, you will go past a gate. In front of you, you will see a giant beating heart. Turn right and keep going until the end of the corridor. Behind some crates you will find x2 Aged Spice, now turn back and enter the first door on your left, this will lead you outside again.
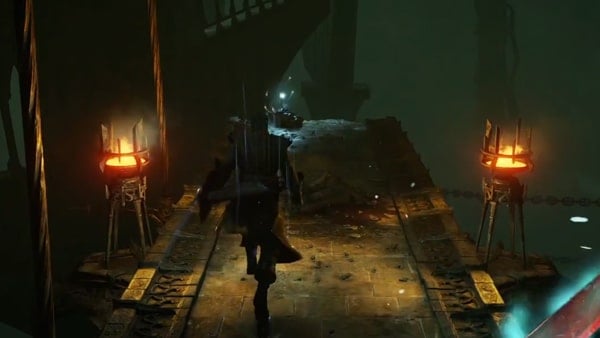
Head to the edge to obtain x1 Moonlightstone Shard from the body hanging there. Now go to the start of the platform. break the jars on your left to reach x1 Renowned Hero Soul. It is difficult to see, but there are stairs beyond the platform, so you can go down.
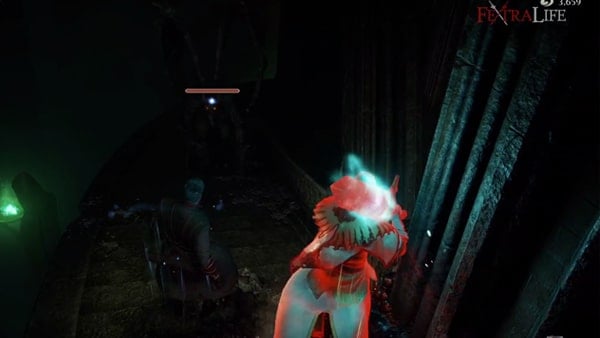
Take the stairs and prepare to face a Gargoyle. Once dealt with, keep going down the stairs and you will reach another platform similar to the one you were standing on before. In front of you, there are more breakable jars, break it to find x1 Renowned Hero Soul that can be looted off a corpse - if you turn to your right, you can attempt to enter again but the way is blocked by the giant heart. Go left instead, towards the narrow path where you'll encounter another Gargoyle.
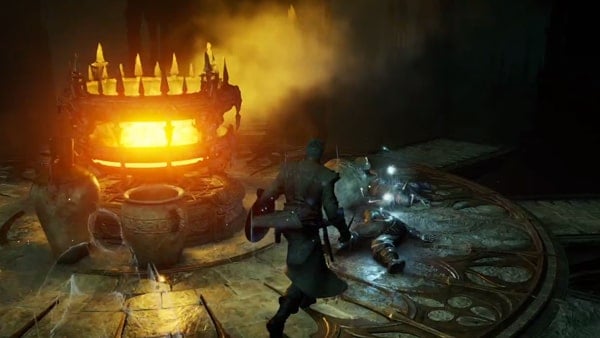
Keep going forward until you reach another circular platform with a bonfire on it. There are two corpses near it, that contains x1 Moonlightstone Shard each. Take the stairs down to loot another body to obtain x1 Moonlightstone Chunk. Go all the way back to the room where you the giant beating heart is, but this time, take the left path, you will have to take the stairs.
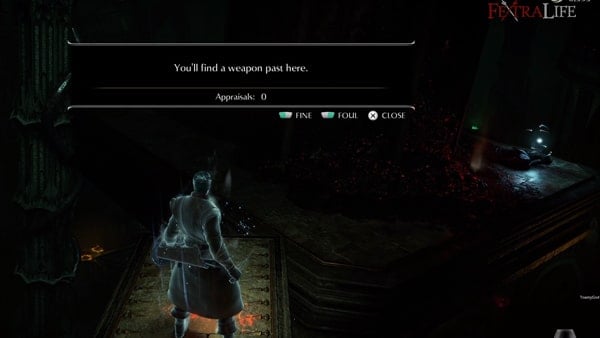
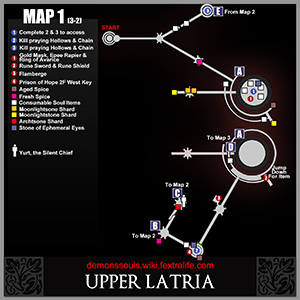
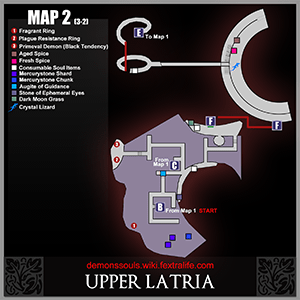
Once at the top, take the bridge on the left. After a few steps, a Gargoyle will drop on you. After killing it, another Gargoyle will attack you from a column. You will arrive once again at a circular platform, you can turn right to reach the broken pillar that contains a lootable body. It has x1 Flamberge. See Item 3 on Map 1.
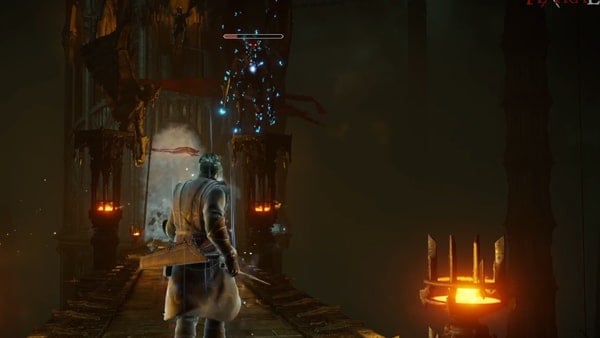
Return to the circular platform, keep heading forward and again there will be two columns with Gargoyles on top of them. This time only the right one turns to attack you. Once killed, keep going forward towards the fog door, another Gargoyle will drop on you -after dispatching it, enter the fog door.
Upper Latria: Yurt, the Silent Chief
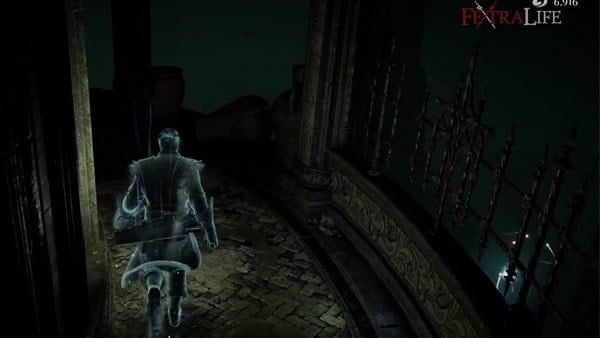
Go right, break the jars and take the narrow walkway to obtain x3 Aged Spice. Take the stairs to your right and keep going up, once you are at the top you will have to wait for an elevator to come down, don't stay on it, use it as a platform to go to the other side. Behind the breakable jars, you can obtain x1 Stone of Ephemeral Eyes.
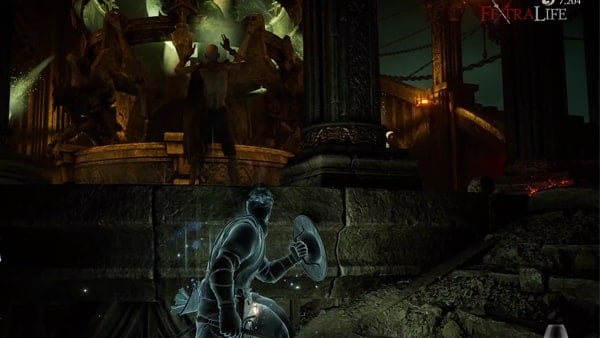
Return to the elevator and go up. Once the elevator goes all the way up, you will find a Gargoyle. Dispatch it, and keep going up continue going up through the stairs. At the top, you will find four prisoners performing some kind of rite around a chain. Kill them to trigger a cutscene, that shows you how the chain breaks. Once you are back in control, there's a body near that contains x1 Renowned Warrior Soul, keep going down the stairs in front of you - the stairs going up is a dead end since the path ahead is broken.
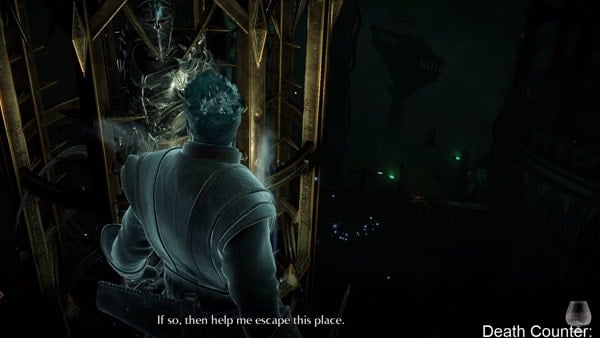
On the left side of the platform, there's a body that contains x2 Fresh Spice. Turn back and head towards the stairs on your left. Drop to the bridge below, keep going towards the platform to loot x1 Archstone Shard, and inside a jail cell, you will find Yurt, the Silent Chief. He will ask you if you can free him, if you do so, Yurt will thank you and promise to meet you again. He's a liar and will start murdering all your NPC's unless you kill him now. Enter the Jail cell that he was in, and it will take you all the way down to the swamp - see Point C on Map 1.
Upper Latria: Bottom Section
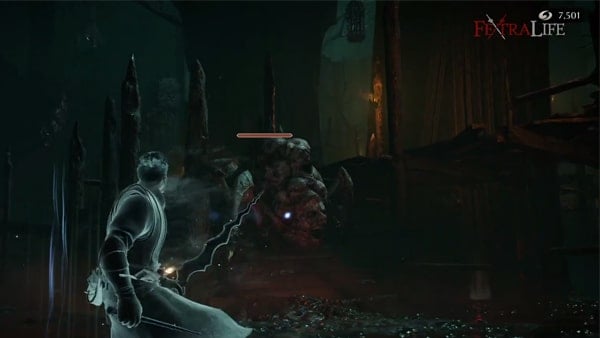
Go round the building from the left and you will see a wooden structure, go there. You will be greeted by one Man Centipede and two Giant Man Centipede. Take the stairs up and turn to the right, keep going forward to obtain x1 Stone of Ephemeral Eyes. Turn back, and climb the hill a little to obtain x1 Renowned Warrior Soul.
Keep going a bit until on your left you can go through another wooden structure, go through it and then turn right. Another Man Centipede will come towards you. Reach the end of the bridge and turn left, climb the little staircase.
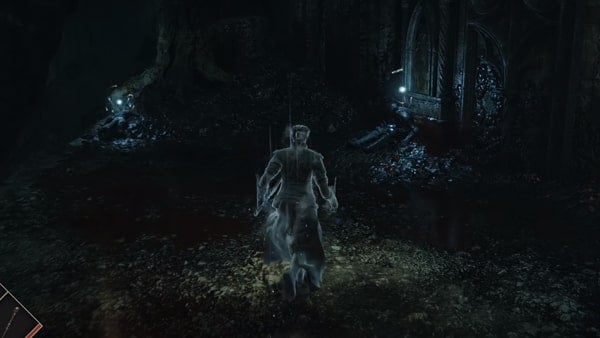
There are three Giant Man Centipedes near the top of the staircase. Take them out, a little bit further there is a fog door, and on your left, you will find some lootable corpses. One contains x1 Renowned Warrior Soul, and the other one has x2 Dark Moon Grass.
Don't go into the fog door yet, there's plenty of loot to obtain still. Go back to where you fought the three Giant Man Centipede and keep going forward. You can loot x4 Augite of Guidance. Turn left, and kill the Giant Man Centipede. Keep going and then turn right, and after that turn left and kill the Man Centipede. Keep going, turn left, and then you will arrive at the edge of the wooden platform.
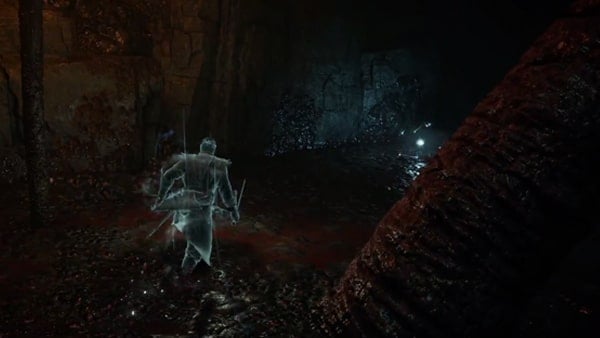
Drop on the water and head towards the dim light of the treasure in front of you. Loot it to obtain x1 Mercurystone Chunk. Keep going and you'll find a Prisoner Horde, evade the laser-like attack. After taking care of it, you can loot two treasures that contain x2 Mercurystone Shard. Go between the two structures on your right (the one that looks like a tentacle) and turn left to obtain x1 Fragrant Ring - see Point B on Map 2.
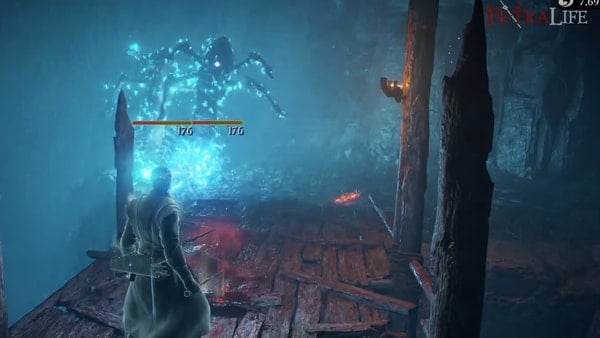
Head back to the wooden structure, the one that leads you to a hill, you will find two Giant Man Centipede there and you can loot x1 Plague Resistance Ring
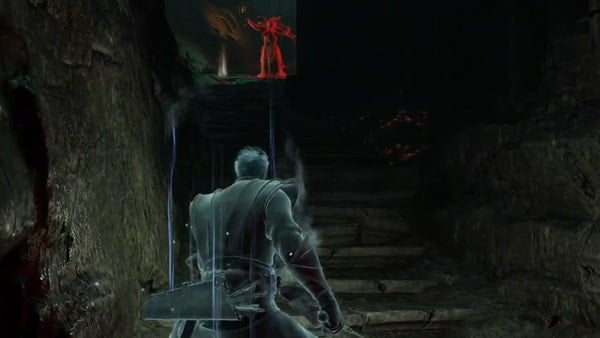
Head back again to the fog door, and this time go through it. But before doing so, make sure to loot the nearby corpses to find x1 Renowned Warrior Soul and x2 Dark Moon Grass. On the other side of the fog door, turn left and keep going uphill until you reach a set of stairs and you will see a Black Phantom Mind Flayer, keep going. until the end, raise your shield and turn right to face a Giant Man Centipede that will ambush you.
Continue going forward you will find another Giant Man Centipede and a Man Centipede. Go left, to the side of the big red tentacle. Fight two more Giant Man Centipede. You will see a Crystal Lizard in the distance. Turn right to pass the wooden bridge, there will be a Gargoyle waiting for you on your right. Keep going forward, and one of the Gargoyles on the top of the columns.
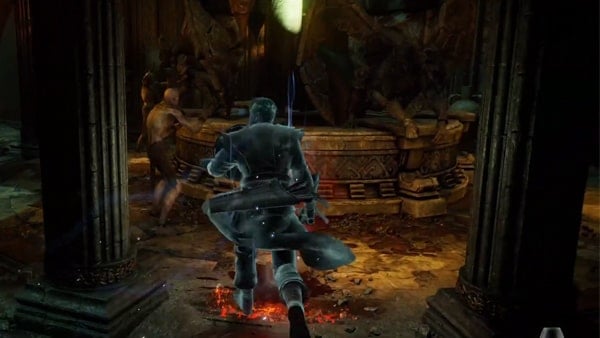
At the end of the bridge, another Gargoyle is waiting for you, after dispatching it. turn left along the corridor to obtain x1 Storied Warrior Soul., keep going until you reach a gap and wait for the elevator to arrive. Board it and wait until it goes up. Get off the elevator, take the stairs up. Again like on the last tower, you will find four Prisoners around a chain. Kill them and a cutscene will trigger.
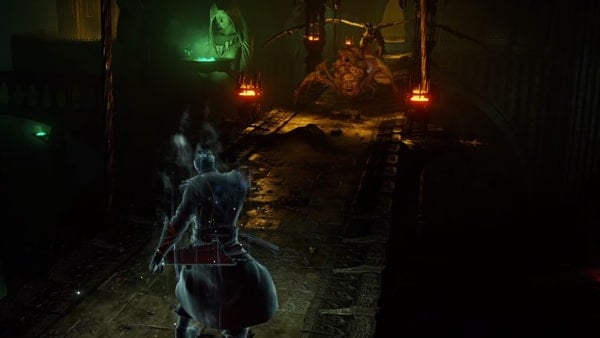
Head back down the elevator and return to where the beating heart was, you will be facing many Giant Man Centipede along the way. Once in the heart tower, you can see there is a lot of treasure where the heart used to be, head down. If you stick really close to the wall on the right you can pass to the platform without falling.
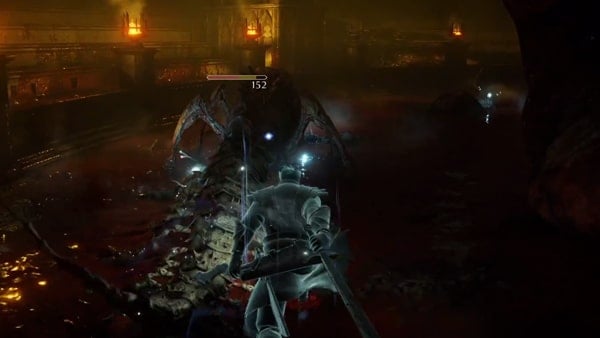
A Giant Man Centipede and a Man Centipede will attack you. Dispatch them. You can loot a body for x1 Gold Mask and x1 Epee Rapier, further another body contains x1 Ring of Avarice, the next one contains x1 Storied Hero Soul, the next body another x1 Storied Hero Soul.
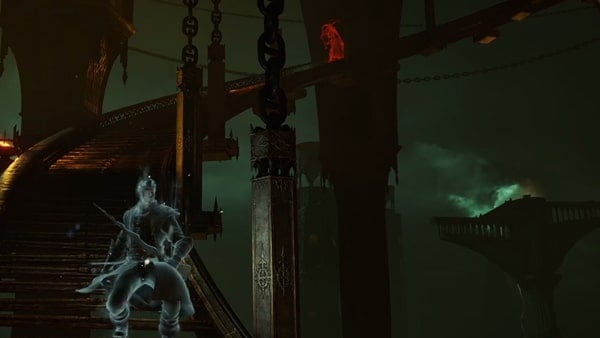
You will face another Giant Man Centipede. You can loot another body for x1 Stone of Ephemeral Eyes, x1 Storied Warrior Soul, and face the last Giant Man Centipede to loot the final body for x1 Storied Warrior Soul. Now go all the way up, go to the side of the stairs, you will find a body that contains x1 Renowned Hero Soul.
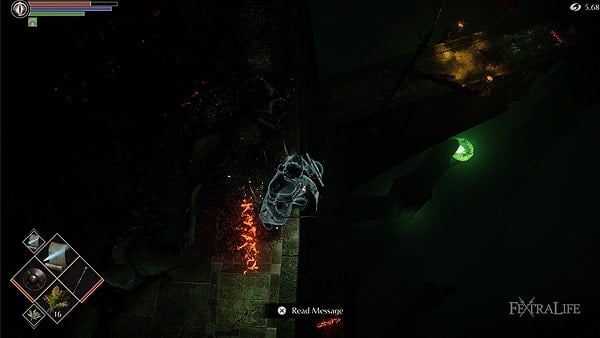
If you break the jars to your left and drop down, you will find x1 Rune Sword and x1 Rune Shield. Now turn back and climb the stairs. you will find a Black Phantom Mind Flayer midway. Continue until the end of the stairs. On your left there is a fog door, don't go in just yet. Explore this level by going right to loot a body for x8 Aged Spice - now get ready to go through the fog door and face Maneater
Boss Battle: Maneater
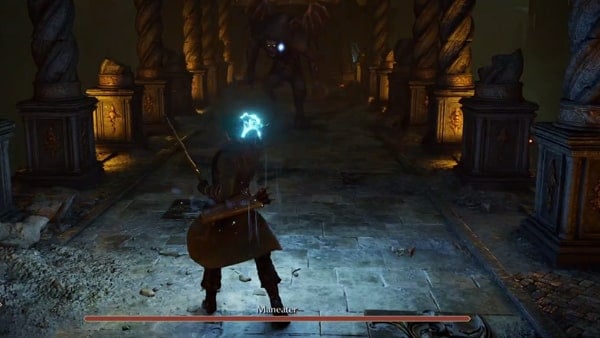
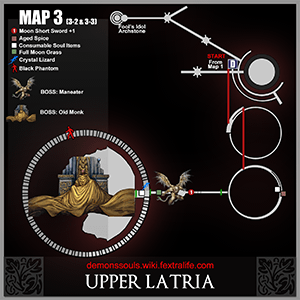
To find tips and strategies on how to defeat this boss, you can visit the Maneater page. Once the demon is gone, keep going ahead through the bridge until you reach the stairs, turn right and go along the ledge to loot Moon Short Sword +1.
Then go to the archstone, just a bit further you will find a body that contains x1 Legendary Warrior Soul and x1 Renowned Warrior Soul. Now touch the archstone to obtain x1 Mixed Demon Soul and to travel to The Nexus if needed - this finishes the area.
Upper Latria Videos
Upper Latria Map
Upper Latria Trivia & Notes:
 Anonymous
 Anonymous
Going to add this aswell don’t try to get the rune sword/shield from where this guide says. Go back around to the top of the first set of stairs and look from the edge there. You can see the items from there…the drop is still hard af though it’s the real boss of this level… some tips to try if having trouble making the drop…get naked and attempt to walk should make your hitbox smaller allowing you to land on the edge below…or pull out a bow and walk while aiming seems to be easier to “aim” your walk and fall. Good luck this part sucks!!!

 Anonymous
For anyone following the walkthrough…at the end when the 2nd chain breaks and the heart falls, DO NOT take the elevator back down and make that long trip back to the heart. *From the 2nd chain drop area, after the cutscene continue along the path until you come to the end where it’s broken, drop or roll down if your into that and continue to the circle platform. To your right is the Archstone where you began this journey and to the left takes you exactly where you need to be…the heart.
I’ll try to edit the walkthrough but if not I hope you see the comment section before trying to back track all the way to the heart…good god I know these walkthroughs are all voluntary submissions and I’m not trying to be rude but this one is a tad all over the place…it’ll get the job done mostly but will guarantee triple the time it should take to finish this area…that backtrack would take ages.
Who ever wrote this, all of these, is often mixing up their left and their right. It's like they played it in fracture mode and are writing the guide, trying to remember to write the opposite direction. the first soul pickup is on the left side. This has happened in previous levels' walkthroughs as well.

 Anonymous
can some one help how to get this word back to just white, plz?
i tried to help people so i used blue eyed stone, but instead i was summon like boss.
and now even after i stoped use the stone im still making my world darker even i offline Q_Q
 Anonymous
I have PWWT and when I got to get the key in Upper Latria, the wooden bridge isn't there.

 Anonymous
Hey maybe put the correct walkthrough in your page instead of the one for world 2. Just sayin

 Anonymous
It's minor, but could cause some confusion. In the swamp area, you right this passage when getting to the first fog door in the swamp:
"Don't go into the fog door yet, there's plenty of loot to obtain still. Go back to where you fought the three Giant Man Centipede and keep going forward. You can loot x4 Augite of Guidance."
The place where you fight three Giant Man Centipedes is two feet from the fog door. This means the two Giant Man Centipedes and the small one, where you first get onto the wooden platform when you first reach the swamp area (if you follow what is written).
 Anonymous
I like how it almost looks like you're deep below the surface of the ocean. They should've gone even harder with that concept, tho.

 Anonymous
I can't get the Rune Sword and Shield in this level :( I keep dying during the fall.

 Anonymous
 Anonymous
After killing the prisoners upstairs this says to “take the elevator to the beating heart”. You do not take the elevator there, you continue upstairs

 Anonymous
I like how y’all just pass over the black phantom mins flayers like they’re no big deal lol

 Anonymous
This missed the storied warrior souls near the boss fog by going reverse once you climb the stairs

 Anonymous
This guide encourages Yurt's killing spree by not warning the player of what happens if you free him.
10/10 let Yurt do his thing guys he's just having fun.

Hi,
Can someone help me get PWWT in Tower of Latria? I can offer some help in return
PSN: Elvisj15
SL:104
0
+10
-1