Prison of Hope (Also known as "World 3 - 1" or "Tower of Latria" in Demon's Souls) is a Location in Demon's Souls and Demon's Souls Remake. Latria, land of the queens ivory tower. An old man took revenge on the Queen by locking her family in a prison with inhuman guards. All that escapes the place are the prisoners' cries. This is a challenging area with powerful mages and World Tendency events, but it gives you the opportunity to rescue valuable NPCs. Read on for a full Tower of Latria Walkthrough.

General Info
- Previous: Underground Temple
- Next: Upper Latria
- Bosses: Fool's Idol
Video Walkthrough
Map
NPCs
Bosses
Items
Consumables
- x3 Augite of Guidance
- x4 Fresh Spice
- x6 Aged Spice
- x5 Stone of Ephemeral Eyes
- x2 Widow's Lotus
Equipment
- x1 Assassin's Mask
- x1 Baby's Nail
- x9 Black Bolt
- x1 Black Boots
- x1 Black Gloves
- x1 Black Leather Garb
- x1 Claws
- x1 Clever Rat's Ring
- x1 Estoc
- x1 Fluted Armor
- x1 Fluted Gauntlets
- x1 Fluted Helm
- x1 Fluted Greaves
- x1 Geri's Stiletto
- x1 Heavy Crossbow
- x1 Kite Shield
- x1 Mercury Rapier +1
- x1 Parrying Dagger (White tendency required)
- x1 Phosphorescent Pole (Black tendency required)
- x1 Ring of Magical Sharpness
- x1 Rogue's Boots (White tendency required)
- x1 Rogue's Clothes (White tendency required)
- x1 Rogue's Gloves (White tendency required)
- x1 Secret Dagger
- x1 Silver Bracelet
- x1 Silver Catalyst
- x1 Silver Coronet
- x1 Three Cornered Hat (White tendency required)
- x1 Venerable Sage's Boots (White tendency required)
- x1 Venerable Sage's Gloves (White tendency required)
- x1 Venerable Sage's Hood (White tendency required)
- x1 Venerable Sage's Robe (White tendency required)
- x1 Wizard's Clothes
- x1 Wizard's Gloves
- x1 Wizard's Shoes
- x1 Wooden Catalyst
Souls
- Doll Demon Soul
- x3 Renowned Hero Soul
- x5 Renowned Warrior Soul
- x2 Storied Warrior Soul
- x5 Unknown Hero Soul
- x4 Unknown Warrior Soul
Stones
- x2 Mercurystone Chunk (White tendency required)
- x3 Moonlightstone Chunk
- x3 Mercurystone Shard
- x1 Moonlightstone Shard
Key Items
- Prison of Hope 1F Cell Key
- Prison of Hope 1F Key
- Prison of Hope 3F Cell Key
- Prison of Hope 3F Key
- Prison of Hope 4F Cell Key
- Prison of Hope 4F Key
- Prison of Hope Special Key
- Prison of Hope Warden's Key
Enemies
Prison of Hope World Tendency Events
White World
2F West, path previously blocked by debris is accessible now. Pure White World Tendency required. Once unlocked it will stay unlocked even if World Tendency changes later. Video showing all white world tendency pickups in the area.
Items found in the cells Prison of Hope, 2F West
- Three Cornered Hat
- Venerable Sage's Hood
- Venerable Sage's Robe
- Venerable Sage's Gloves
- Venerable Sage's Boots
2F West, Lord Rydell can be rescued if you have the key from 3-2 (see below). The reward is a Dull Rat's Ring.
- Unlocking his cell is not dependent on World Tendency, but getting the key from 3-2 is. If you unlock his empty cell during Pure Black World Tendency, he will stay inside until you talk to him, after this the World Tendency shifts back towards White.
- Rescuing Rydell has no effect on his Black Phantom form. Remember that Latria's Archstone will be darker due to its position at the back of the screen, so suicide in Body Form one more time to ensure Pure Black when going for his BP form.
- Drops nothing if killed, unless he's killed before he gives the Dull Rat's Ring.
Prison of Hope, 2F East is accessible after you free Rydell, and let him live. The Prison of Hope, 2F E Cell Key is located in one of the last open cells.
Items found in the cells Prison of Hope, 2F E
- Parrying Dagger
- Rogue's Clothes
- Rogue's Gloves
- Rogue's Boots
- Chunk of Mercurystone
- Chunk of Mercurystone
Fractured Mode Pure White World Tendency, Ceramic Coins Location
- In one of the smaller cells with a spiked chair in it, near the ball of bodies that shoots at the player, roll and break the chair. The cell is opposite the Crystal Lizard spawn.
Video Location: Shown in our walkthrough video at 5:11. Click here to watch it.
Black World
Black Phantom Lord Rydell is standing outside of his cell on the landing. He drops a Phosphorescent Pole when killed. Pure Black World Tendency required.
- He will appear whether you have freed him or not.
Black Phantom Mind Flayer outside the door on 1F behind the Prisoner Horde enemy, towards Ballista.
Black Phantom Mind Flayer in the room where the two warden's corridors come together at the exit door.
Black Phantom Mind Flayer on the open path between the warden's corridor exit and the first tower.
Fractured Mode Pure Black World Tendency, Ceramic Coins Location
- When you use the side path to avoid the statue that shoots arrows, there are two adjacent corridors with wardens in them that lead to a big staircase that leads to a courtyard that’s connected to one of the towers near the Fool Idol’s boss. Check the dead-end grates in that courtyard to find a box near one of the grates you can destroy.
Video Location: Shown in our walkthrough video at 11:25. Click here to watch it.
Black World Tendency Events in Latria
- In Latria, it is impossible to go from 3-2 back to 3-1, without going by The Nexus. Most players will want to defeat both the NPC Black Phantom and the Primeval Demon in one go, to avoid achieving Black World Tendency more than once. It is therefore advisable to start from 3-1 and take out Black Phantom Lord Rydell first, then move into 3-2 to deal with the Primeval Demon.
Full Prison of Hope Walkthrough
The Prison of Hope: Third Floor
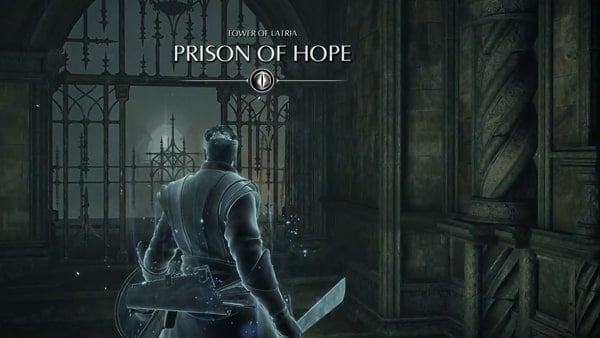
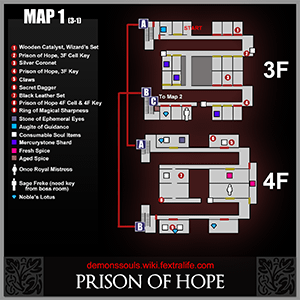
The Prison of Hope can be accessed by touching the Archstone of Tower Queen in The Nexus. When you enter the zone, go out of your cell, and turn right, check the second cell where you'll find a lootable body with x3 Augite of Guidance. Get out of the cell, on your right, there is a locked door. Turn back and head the opposite way. Along the way, you'll come across a cell with three Prisoners in it. You can kill them without even opening the door. On the next cell, there's also a Prisoner.
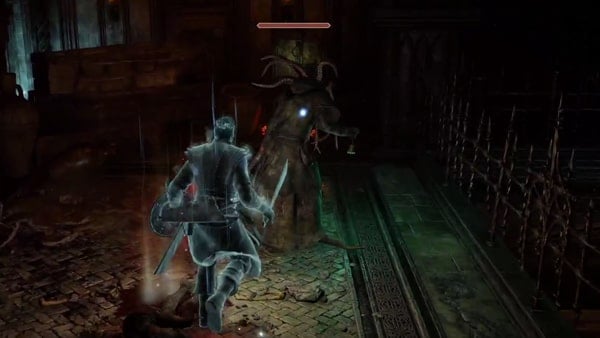
Be alert. From the little hall ahead you will see a Mind Flayer, it will probably spot and try to attack you. Once you've dealt with it, smash the crates near the bottom end corner of the room to find x1 Renowned Warrior Soul.
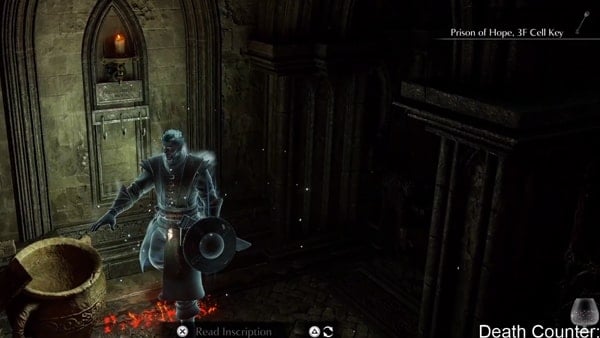
Turn back and stick to the wall to your left, there you will find x1 Prison of Hope, 3F Cell Key. With that key, you can now open the locked cells on this floor. You can loot the lonely Prisoner you killed prior to the Mind Flayer to obtain the following items. x1 Wooden Catalyst, x1 Wizard's Clothes, x1 Wizard's Gloves, and x1 Wizard's Shoes.
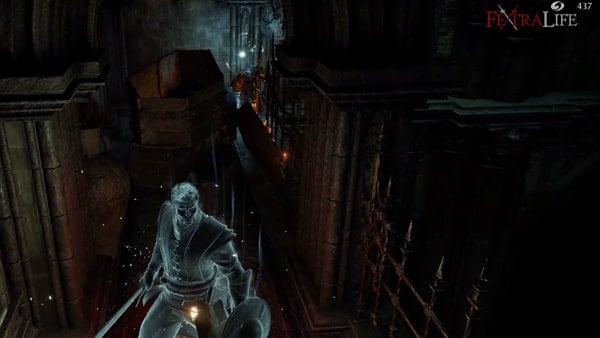
Go back to where you found the keys and follow that corridor. You can open the first three cells but there's nothing there. After the aisle, there's another cell, you can find two Prisoners in this one. Get out of the cell, and continue the corridor all the way to the end. You can loot x1 Renowned Warrior Soul from the hanging body. Open the cell next to it, to loot another body to obtain x1 Mercurystone Shard.
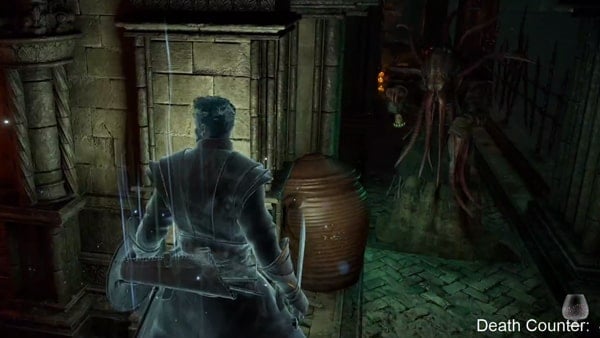
Turn back and take the corridor you passed before fighting the last Enemies. Once you reach the end of it, on your left there will be a Mind Flayer. Dispatch it and turn around to the right side first. Open the jail, enter and loot the body to obtain another x1 Mercurystone Shard. Leave the cell, the next one, to your right has nothing inside so you can ignore that one.
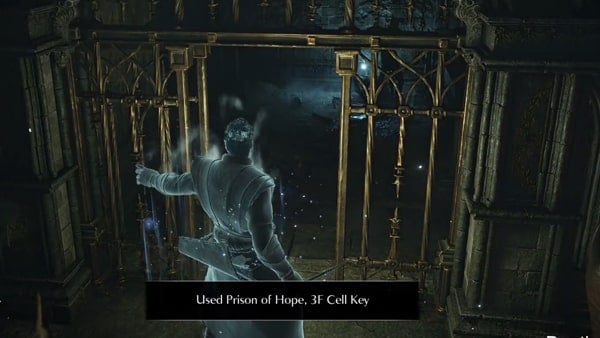
Turn back and continue along the corridor to where you just killed the Mind Flayer. At the moment the path widens, to your left there is a Prisoner, and there are two more on the next cell. The next cell has one Prisoner and a body that can be looted to obtain x1 Silver Coronet. See Point A on Map 1. The last jail has two more Prisoners. At the end of the corridor, there's another Mind Flayer. As in the previous room, against the wall on the left, you can find x1 Prison of Hope 3F Key.
There are three cells on the opposite corridor. In the first one, there is a Prisoner, inside the second cell. there are two Prisoners wielding-spears and in the third one, there is a body containing x1 Shard of Mercurystone. Also, at the end of the corridor, you can loot another body to obtain x1 Renowned Warrior Soul.
The Prison of Hope: Fourth Floor
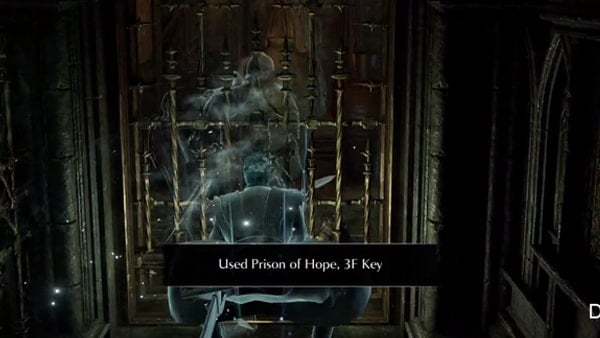
Now return to the first area, to open the locked iron door. Just a few meters ahead, you will find a fog door, go through it and take the stairs all the way up.
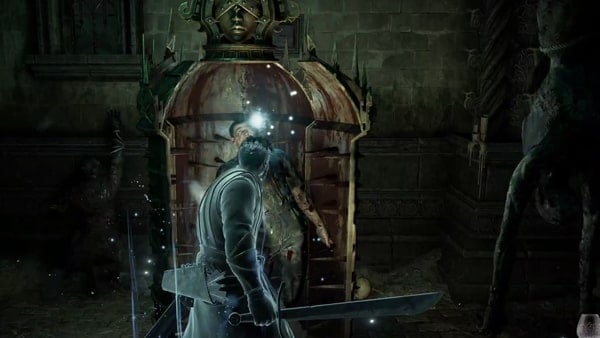
Stand before the open iron door, a Prisoner will approach you. Once you've dealt with it, enter the first cell on your left to find a body that contains x1 Unknown Hero Soul. If you open the iron maiden, the torture device in the middle of the room, a body drops. If you loot it, you can obtain x1 Stone of Ephemeral Eyes. There's also a body that's hanging on the ceiling, you can shoot it down with your ranged weapon or spell. The body drops x1 Noble's Lotus.
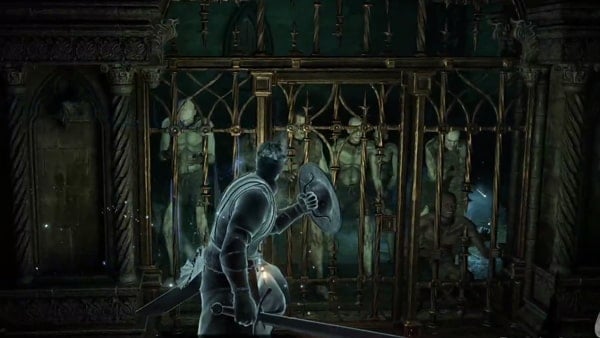
Keep going along the corridor, you will find a cell filled with 5 Prisoners. Once you reach the end of the corridor turn right. There is another locked door exactly like the one on the previous floor. Turn right again, and go along that narrow corridor. On the first cell on your left, there is a Prisoner near the door and a lootable body that contains x1 Fresh Spice. Once you enter the room, you will be attacked by 6 more Prisoners. There are also three Prisoners hiding inside the big jars at your left.
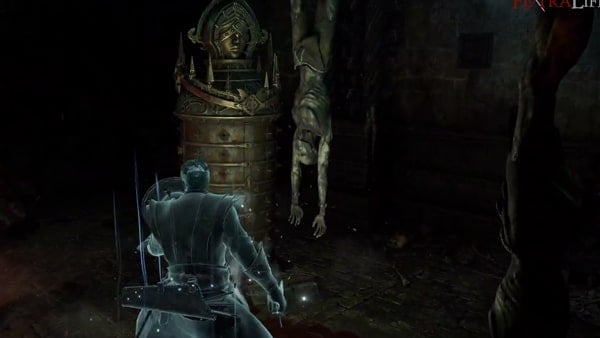
Get back to the corridor and continue until the last cell on your left, you can open the iron maiden to your left, to find a lootable body that contains the following items: x1 Assassin's Mask, x1 Black Leather, x1 Black Gloves, and x1 Black Boots. See Point A, 4F on Map 1. There's another iron maiden to your right, loot it to obtain x1 Unknown Hero Soul. Keep going through the hole on the cell's wall, straight ahead.
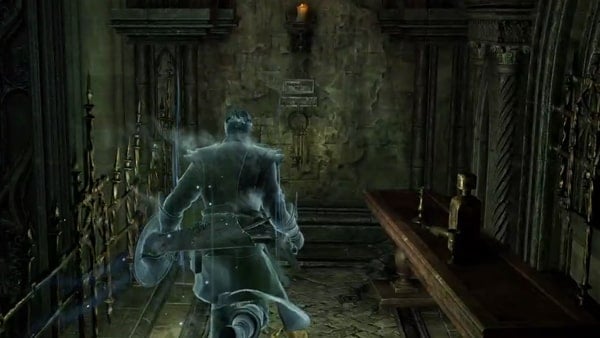
On your left, there's another iron maiden, but if you open it you will be Poisoned and will have to fight a Prisoner. In front ot you there will be a patrolling Mind Flayer. Kill it and turn right until you reach the wall to obtain x1 Prison of Hope 4F Key and x1 Prison of Hope 4F Cell Key.
Turn back to the previous hall of cells now you can unlock the last cell of the first corridor and also the iron gate with one of your new keys. Enter the cell, there will be a few Prisoners, on the left side of the room you can find x1 Secret Dagger. On the right side, there are three big jars with Prisoners in it, and behind them, you can find x1 Claws. You can also find x1 Unknown Hero Soul in the middle of the room.
Merchant: Once Royal Mistress
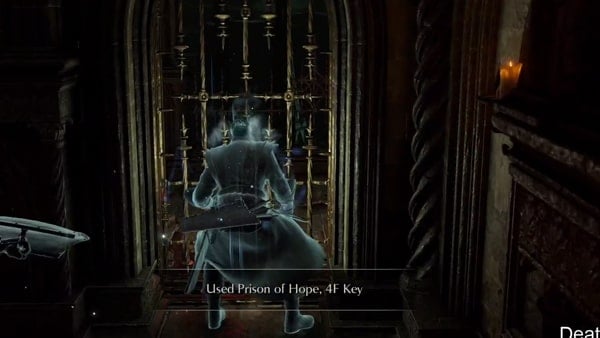
Now head to the iron gate and unlock it, on the right side past some crates, you will find a lootable body that contains x3 Fresh Spice, continue until the end of the balcony and open the gate on your right.
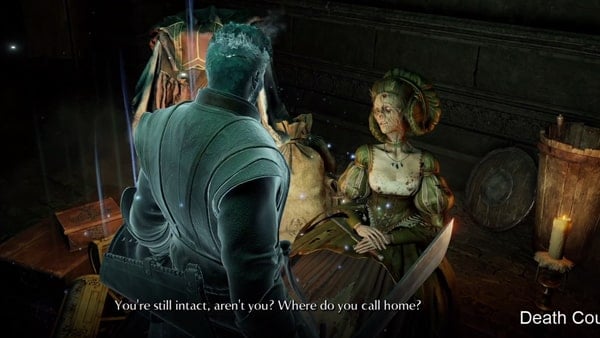
Once you enter, a Mind Flayer will come from the left corridor. After dispatching it, take the right corridor, open the door and you will be able to interact with Once Royal Mistress (Former Noble's Wife). Leave the cell, and keep going through the corridor, on your left you will find a hanging body that contains x1 Renowned Hero Soul. Now turn back and take the left corridor. See Map 1 for reference.
In the first cell, there are two Prisoners near the door, and once you enter you will be attacked by five more. There are also two Prisoners inside caskets. Leave that room and continue along the corridor.
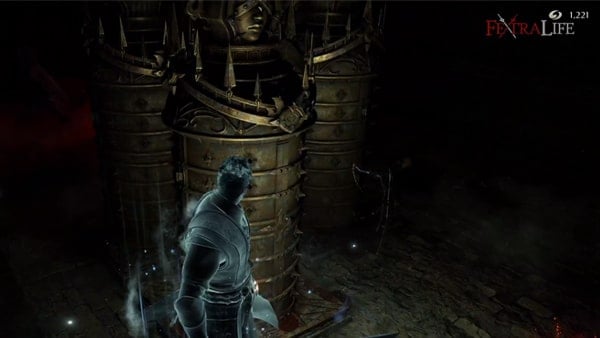
At the next cell, there are five iron maidens, four with their backs against each other, and the other one by itself. You can loot x1 Unknown Hero Soul, x1 Ring of Magical Sharpness, x1 Unknown Hero Soul. The one separated if opened will Poison you and release a Prisoner. There's also a body hanging on the ceiling that you can shoot down to find x1 Noble's Lotus. Head out and reach the end of the corridor to open another iron gate.
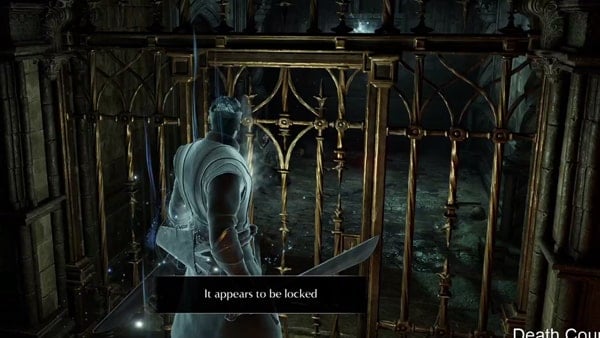
Go through it and take the two stairs downwards. Enter the room in front of you. Loot the body to obtain x1 Aged Spice. Enter the first cell on your right and shoot the body that's hanging on the ceiling to find x1 Noble's Lotus. Take the corridor, on the first two cells on your right there is nothing to loot nor enemy to fight. Inside the third one, you will find Sage Freke, the Visionary but you can't unlock the door right now.
Head back to the entrance of the hall, and this time take the stairs at your right and go down. Open the iron door to enter the room. Continue going forward a few meters and loot from the right wall x1 Prison of Hope 1F Key and x1 Prison of Hope 1F Cell Key.
The Prison of Hope: 2nd ~ 1st Floor
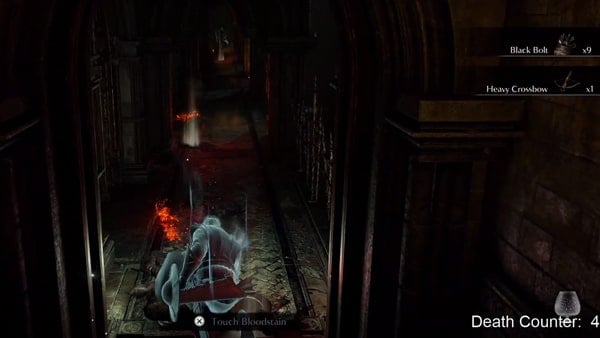
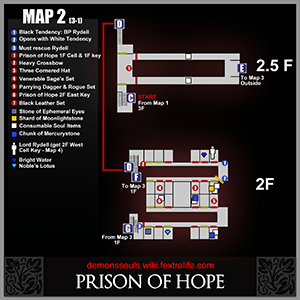
There are two locked iron gates on the right side of the hall, but ignore them for now. Open the gate at the end of the hall. Take the stairs downwards and go through the fog door. You will have a path on your left or a ladder in front of you. Take the path on the left side first to loot x1 Heavy Crossbow and x9 Black Bolt. See Map 2 for reference.
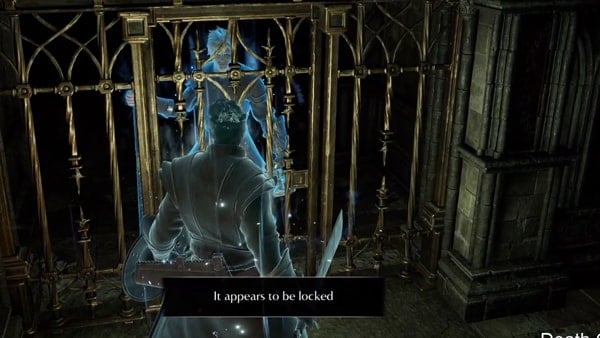
On your left again, you will another cellblock patrolled by a Mind Flayer. The first cell is empty, the second has a Prisoner, and the rest are currently locked. However, in the sixth cell, you can see Lord Rydell's blue phantom. There nothing else to do here, go back to the entrance of the room and go down the stairs.
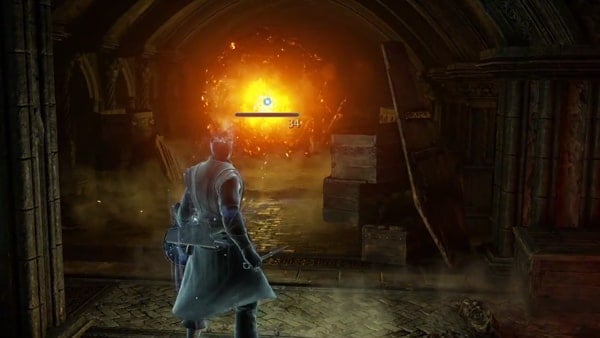
Here, there is a Prisoner Horde shooting at you from the other side of the room, so hide in the cells and use your shield accordingly to protect yourself from harm. Again, along the corridor, there are cells you can access. On the first one on your left, there's nothing, the second one contains x1 Unknown Warrior Soul, and the rest are empty.
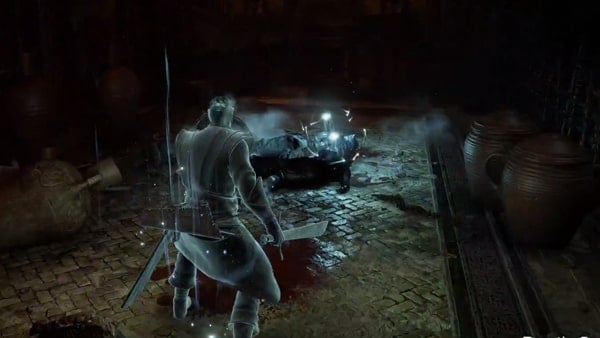
A Prisoner will come running while you dwell on the corridor. Once you reach the end of the corridor, turn right to loot x1 Silver Bracelet, x1 Fluted Helm, x1 Fluted Gauntlets, x1 Fluted Armor, x1 Fluted Greaves, and x1 Kite Shield.
Smash the crates and turn right to go through the other corridor. The first cell contains x1 Unknown Warrior Soul, the second and third ones are empty. Past them, you will find a Prisoner Horde in that hall. On the right side of the hall, you can obtain x3 Aged Spice, on the left side, there are six jars with Prisoners inside. Once you have dealt with every Enemy, keep going forward until the end of the room.
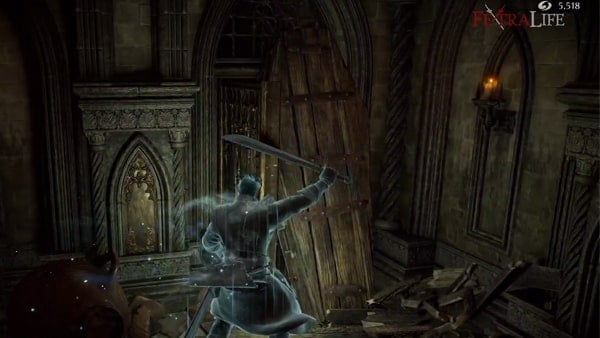
On your left, there will be a Crystal Lizard, chase it down. On the cells along that corridor, only one contains treasure x1 Unknown Warrior Soul. Take the other corridor to start exploring the cells. The first two are empty, the third also contains x1 Unknown Warrior Soul. Leave the cell and go until the end of the corridor, destroy the casket that's standing up to reveal a door. Now go through it.
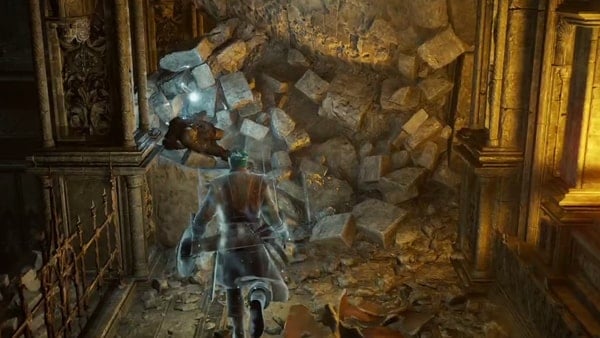
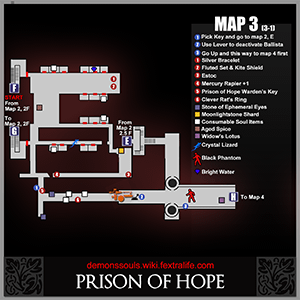
Turn right and move forward until you inexorably will have to turn right again. Go until the end of the corridor to reach a body by the rubble, loot the corpse to obtain x1 Estoc. Go back to the entrance of the balcony, this time head down the stairs, you will find x1 Moonlightstone Shard. See Map 3 for reference.
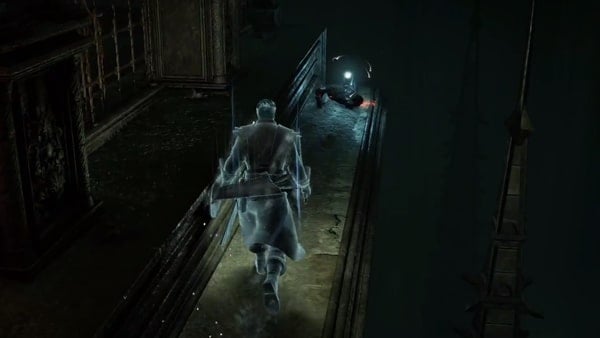
Return to the room where you defeated the Prisoner Horde, and keep going forward, you will arrive at a door, once you are past it, you will be treated to a short cutscene. Go to your left and you will find a gap in the railing. Drop to the narrow one next to it, and keep going forward until the end to find x1 Mercury Rapier +1. Go back to the place where you dropped and climb back up and now go to the other end of the corridor. See Map 3 for reference.
Do the same, drop down and follow the narrow rail, drop onto the next one and keep going, until you will have to turn right. Go until the end and turn left, you will be in front of a body that contains x1 Stone of Ephemeral Eyes. Turn back to where you dropped from and climb up. now you will cross the bridge to the other side.
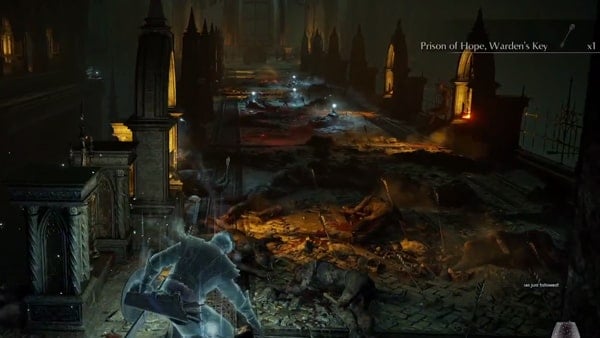
Once you are near the next room, you will notice a lot of dead bodies and a constant wave of arrows is being shot at you, in intervals. Grab the nearest treasure, located in front of you, it contains Prison of Hope Warden's Key.
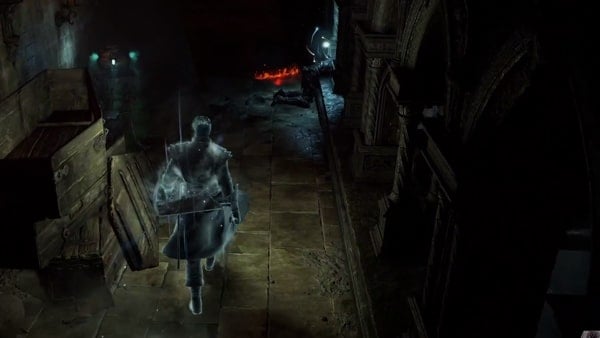
Now, backtrack up two floors to the hallway with the two locked gates that we ignored before. You can unlock them both with the Prison of Hope Warden's Key. Take the right one and grab x1 Renowned Hero Soul from the body in the middle of the corridor, all the way to the end you will find a Mind Flayer. Now turn left and head to the next room.
There is another Mind Flayer roaming the hall. Now you can turn left and end up in the corridor that leads you to the other door unlocked by the Prison of Hope Warden's Key. Along this corridor, you will also find x1 Renowned Hero Soul this time from a body hanging on the side of the corridor.
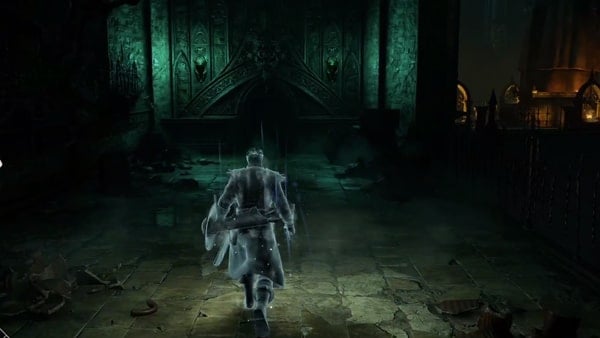
Turn back to the hall that both corridors lead you to and open the big iron gate. From here, either direction will lead you downstairs. At the bottom of the stairway, take a right and head to the door leading to a circular staircase. There's a fog door to the left, but for now you should take the stairs up and to the right, leading to a balcony.
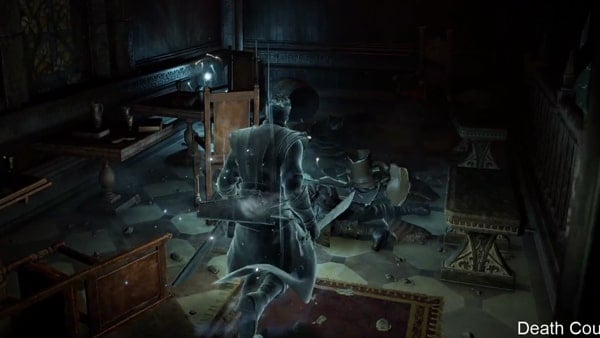
Keep going forward to reach a wooden door, open it, and continue going straight through the corridor until you reach the end where you'll find x1 Silver Catalyst and armor pieces for the Imperial Spy Set such as x1 Imperial Spy Leggings, x1 Imperial Spy Gloves, x1 Imperial Spy Clothes, and the x1 Imperial Spy Hood. After grabbing the items, head back down the spiral staircase and through the fog gate at the bottom.
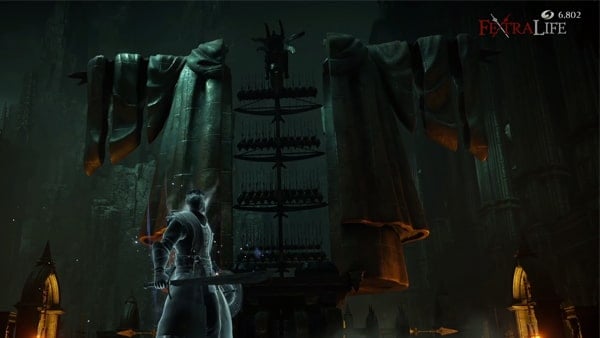
This leads you to the ballista-like device that was shooting arrows and preventing you from crossing the bridge. (Where you found the Prison of Hope Warden's Key and saw all the dead bodies). You can deactivate it just by pulling the lever on its back. Now you can loot all the treasure from the dead bodies. Here, you'll find the following: x1 Storied Warrrior Soul, x1 Clever Rat's Ring, x1 Renowned Warrior Soul, x1 Renowned Warrior Soul, and x1 Stone of Ephemeral Eyes - go back to the ballista-like device, and head to the right. Enter the door and climb the stairs up. This will lead to a balcony directly in front of the one where you found the Silver Catalyst.
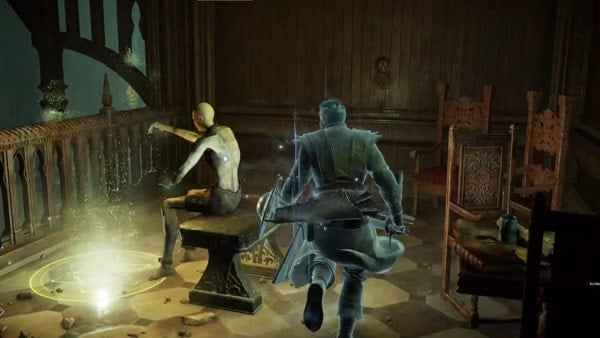
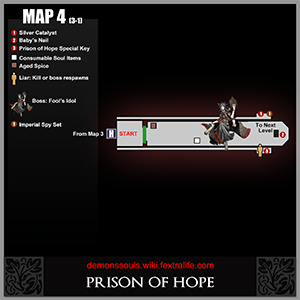
Go straight until you reach the end of the balcony's corridor, open the door and continue straight where you will find The Liar, and on the wall, you'll find the Prison of Hope Special Key. If you talk to The Liar, he presents himself as a humble servant and that he won't cause you any trouble. He's lying. If you go straight to the Boss, The Liar will keep reviving it so better kill him now.
If you go back along the corridor, you can drop down onto that little ledge halfway down the raised catwalk, to obtain x2 Widow's Lotus. Mind the bolts being shot at you, however, you won't be able to target the attacker from there. You will have to drop to the ground.
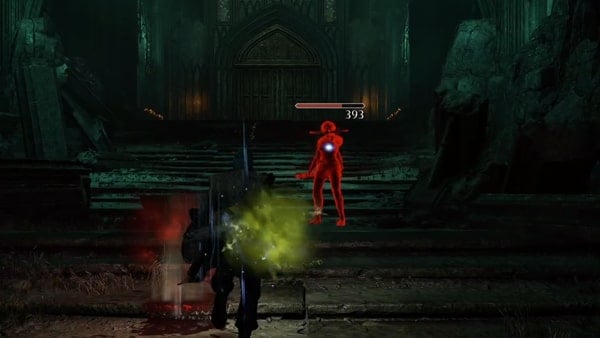
When you drop to the ground, you will reveal a hidden Baby's Nail Black Phantom. This phantom was the one shooting you using a Light Crossbow. Beware of her attacks because she can leave you Plagued. She drops x3 Moonlightstone Chunk and x2 Stone of Ephemeral Eyes.
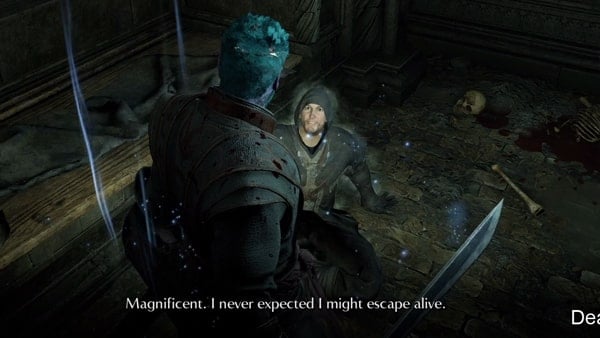
Now you can go free Sage Freke, the Visionary. He tells you he is returning to The Nexus on his own and rewards you with x1 Geri's Stiletto. Return to the walkway where the ballista-like device is, and keep going forward up the stairs. A cutscene will trigger once you are near the big door.

That door will open and become a fog door, once past it, you will be treated to another short cutscene and the fight with the Fool's Idol will begin.
Boss Battle: Fool's Idol
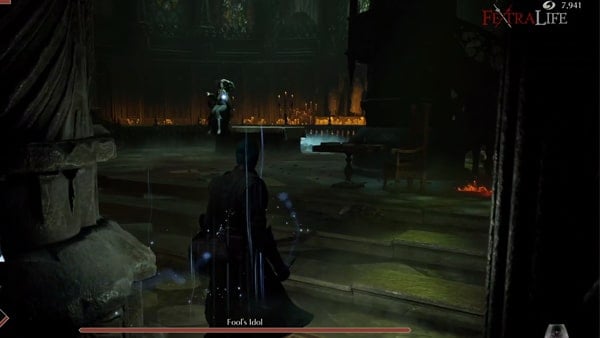
You can find tips, tricks, and strategies on how to defeat this boss by hopping onto the Fool's Idol page. Behind the table where the Fool's Idol appears you can loot x1 Baby's Nail, behind a column on the right you can loot x1 Storied Warrior Soul, and on the left of the fog door, you can loot x2 Aged Spice.
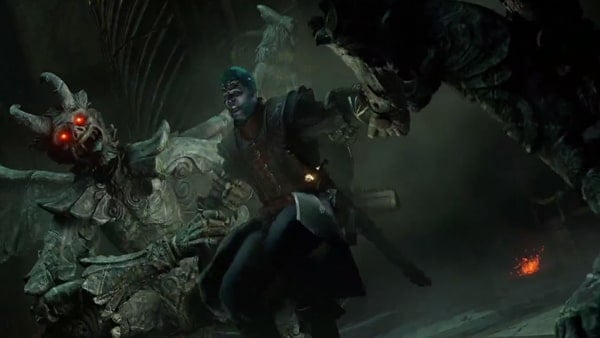
Once the Fool's Idol is defeated and you get near the ceremonial table, a cutscene will trigger. Several gargoyles will take you up to a platform. Go upstairs and turn left to find the Archstone, touch it to obtain the Doll Demon Soul - return to The Nexus from here to level up, and prepare for the next area.
Ceramic Coins Location
Fractured Mode, PWWT
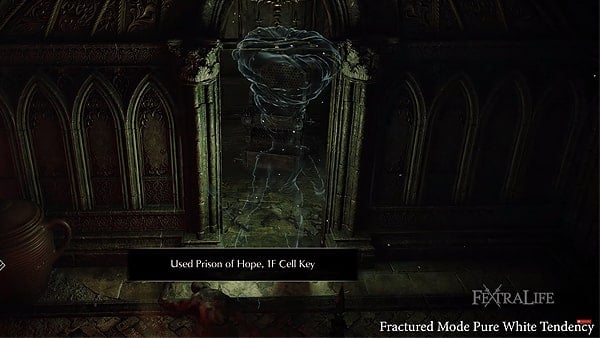
There are two Ceramic Coins that can be found in this area, one in Pure White World Tendency and the other in Pure Black World Tendency, players, on the other hand, must be in Fractured Mode while in PWWT or PBWT to obtain these coins. To locate the coin, you'll find it in one of the smaller cells with a spiked chair in it, near the ball of bodies that shoots at the player, roll and break the chair. The cell is opposite the Crystal Lizard spawn. Video Location: Shown in our walkthrough video at 5:11. Click here to watch it.
Fractured Mode, PBWT
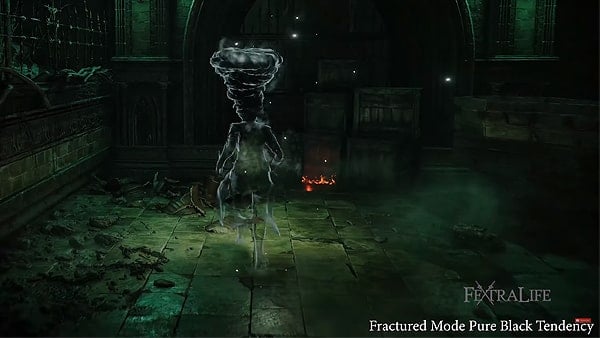
As for the second coin which requires Pure Black World Tendency in Fractured Mode, when you use the side path to avoid the statue that shoots arrows, there are two adjacent corridors with wardens in them that lead to a big staircase that leads to a courtyard that’s connected to one of the towers near the Fool Idol’s boss. Check the dead-end grates in that courtyard to find a box near one of the grates you can destroy. Video Location: Shown in our walkthrough video at 11:25. Click here to watch it.
Prison of Hope Video
Prison of Hope Map
Prison of Hope Trivia & Notes
 Anonymous
More like the Tower of Lament. I have to say this up there with Shrine of Amana and Brightcove Tseldora.

 Anonymous
 Anonymous
 Anonymous
There should be an easy way for the ballista achievement. You might be able to press into the corner on every LIT lantern on the bridge, there you might be save from the arrows. Can someone confirm this?

This page is missing two treasures found in remake, in the oposite side room of the boss healer (top of left tower in map 3)
They are: Imperial Spy set and Silver Catalyst
Please upvote so they will notice and add this info
 Anonymous
Best souls area ever (in the OG at least, idk what they've done to the atmosphere in the remake)

 Anonymous
 Anonymous
Does killing the non-hostile prisoners shift the world to dark tendency?

 Anonymous
I didnt find this area particularly difficult, but I died more times than I'd like to admit from the holes in the floor.

 Anonymous
I have pure white but can't get the Prison of Hope 2F West Key because the bridge isn't there. Good to see they kept that issue from the first game haha


I was absolutely loving this game until this area. Now I don’t even know if I want to finish it. The nicest thing I can say about it that it’s only just barely less horrible than the Frigid Outskirts.
0
+10
-1