The Tunnel City (Also known as "World 2 - 2" or "Armor Spider Archstone" in Demon's Souls) is a Location in Demon's Souls and Demon's Souls Remake. Archstone of the Demon Armor Spider, the Tunnel City. Below the smithing grounds of Stonefang, the Tunnel City is a system of pathways that gave the city its name. Legend has it that deep inside, beyond the molten swamps, is a grave for dragons. Read our full The Tunnel City Walkthrough below. The Tunnel City can be found in the Stonefang Tunnel.

General Info
- Previous: Smithing Grounds
- Next: Underground Temple
- Bosses: Flamelurker
Video Walkthrough
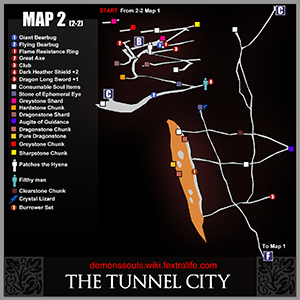
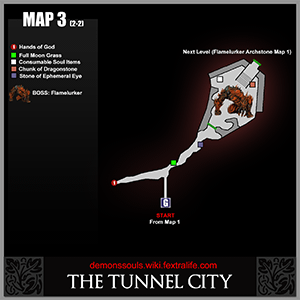
Map
NPCs
Bosses
Items
Consumables
Equipment
- x1 Dragon Long Sword +1
- x1 Club
- x2 Hands of God
- x1 Great Axe
- x1 Talisman of Beasts (Black Phantom Scirvir)
- x1 Dark Heater Shield +2
- x1 Flame Resistance Ring
- x1 Plague Resistance Ring
- x1 Ronin's Ring (Scirvir)
- x1 Thief Ring (Patches)
Souls
- x1 Searing Demon Soul
- x2 Renowned Hero Soul
- x1 Storied Hero Soul
- x3 Storied Warrior Soul
- x3 Unknown Hero Soul
Stones
- x4 Clearstone Chunk
- x9 Dragonstone Chunk
- x1 Greystone Chunk
- x1 Hardstone Chunk
- x1 Sharpstone Chunk
- x2 Large Hardstone Shard
- x2 Large Sharpstone Shard
- x1 Pure Dragonstone
- x1 Pure Hardstone
- x1 Pure Greystone
- x1 Pure Sharpstone
- x2 Clearstone Shard
- x1 Dragonstone Shard
- x4 Greystone Shard
- x5 Hardstone Shard
- Sharpstone Shard
Key Items
- N/A
Enemies
The Tunnel City World Tendency Events
White World
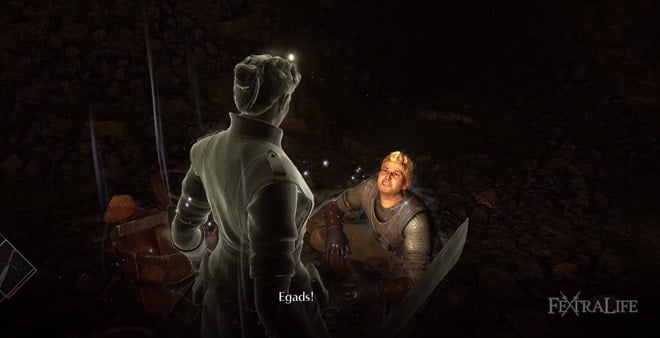
Scirvir, The Wanderer shows up. Show him the Dragon Bone Smasher from Flamelurker Archstone for a Pure Greystone. Pure White World Tendency required.
- To find him, start from the Armor Spider Archstone and turn right.
- Fight your way through the miners, until you reach a large pit.
- Destroy the crates to your right to clear the path.
- Jump down the platforms carefully until you see a large cave.
- Scirvir is waiting in the cave, together with two Crystal Lizards. Drops the Ronin's Ring if killed. He wants you to show him the Dragon Bone Smasher, that can be obtained in the room where you fight the Dragon God.
- If you bring the Weapon, he will give you x1 Pure Greystone.
Fractured Mode Pure White World Tendency, Ceramic Coins Location
- Start from Flamelurker Archstone (Underground Temple) and make your way to the lava pit, where there are multiple bearbugs. Break the debris on one of the islands to find the coin.
Video Location: Shown in our walkthrough video at 3:42. Click here to watch it.
Black World
Black Phantom Scirvir appears. He drops the Talisman Of Beasts. Pure Black World Tendency required.
- Note: There are two Crystal Lizards in the cave with him.
- If you have shown him the Dragon Bone Smasher, he will still appear.
Black Phantom Bearbug on the path uphill from the Filthy Man, near the Crystal Lizard, spawn location.
Black Phantom Bearbug at a location where there are 3 worms, right in front of the tunnels leading to the lava area.
Black Phantom Bearbug at lava area, in front of the middle passage.
Full The Tunnel City Walkthrough
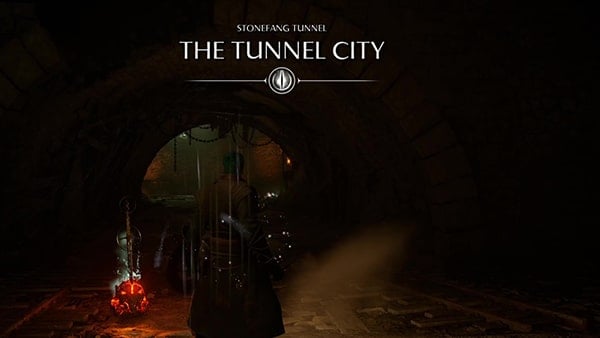
After defeating the Demon Armor Spider, you can access this area, that has the most Crystal Lizards of any other area in the game. From the start point, you start through a tunnel, there is a Scale Miner on your right and a Crystal Lizard a little further. Try to use a ranged weapon to take it out and then rush it. Now you can choose between two paths, to go right or left. To your right, you will find 2 big groups of Scale Miners. The first one is composed of five Scale Miners, and the second group is composed of seven Scale Miners.
From the starting Archstone: To your left
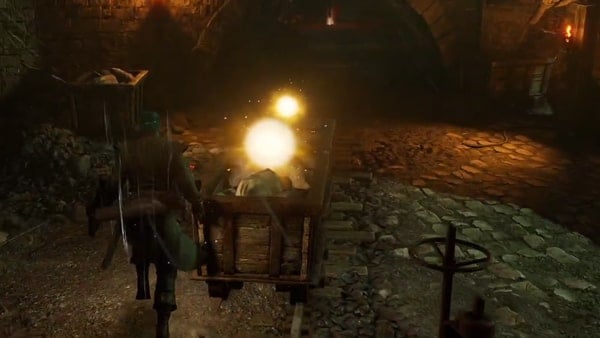
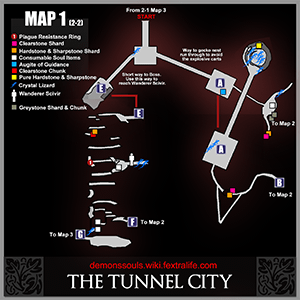
To your left, you'll encounter a single Scale Miner and two shinning carts that if you get too close to, will explode. There's another exploding cart coming through the tracks if you take the left side. See Starting Point to Point A on Map 1.
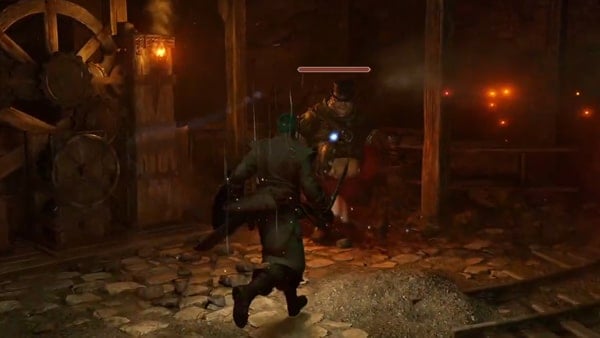
You reach a wide-open room with a giant elevator in the middle. On your right, there is a Fat Official, in Demon's Souls Remake, the Fat Official may drop 1x Official's Clothes. Before going through the corridor, check the right side of the wooden mechanism, you'll find a corpse hanging by the railings, you can loot it to find x3 Augite of Guidance. Next, keep going forward through a narrow corridor that now and then is blocked by a rock formation that can be destroyed.
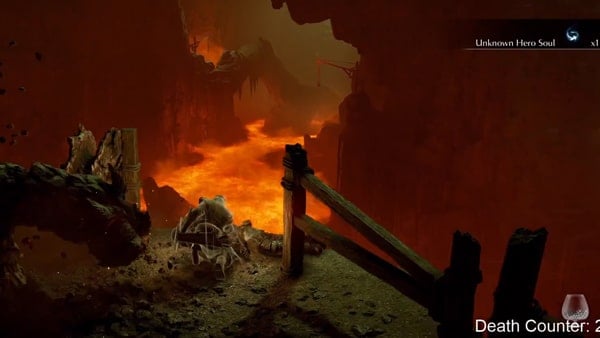
You will find a Scale Miner, keep going until you reach a room with many mining carts. To your left, you will find a Crystal Lizard. In front of the entrance of the area, you can loot x1 Unknown Hero Soul a Rock Worm will emerge from the ground.
To your right another Rock Worm pops up from the ground, at the end of the wooden platform, you can loot two bodies. One has x2 Large Sharpstone Shard and x1 Clearstone Shard.
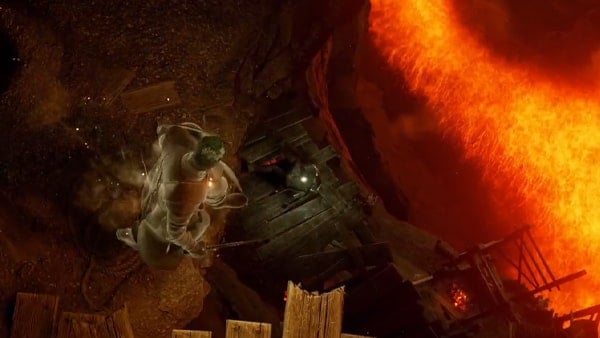
Near where you fought the last Rock Worm, you can drop down to a wooden platform to loot a body that contains x2 Greystone Shard.
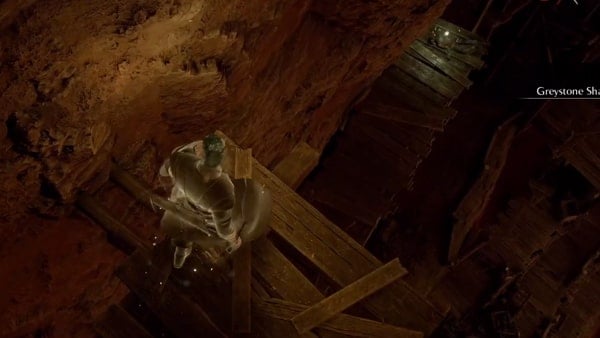
Drop on the next platform to obtain x1 Greystone Chunk, on the next one you will find x1 Unknown Hero Soul and keep going until the end of the corridor ignoring the stairs on your right to loot x1 Sharpstone Chunk.
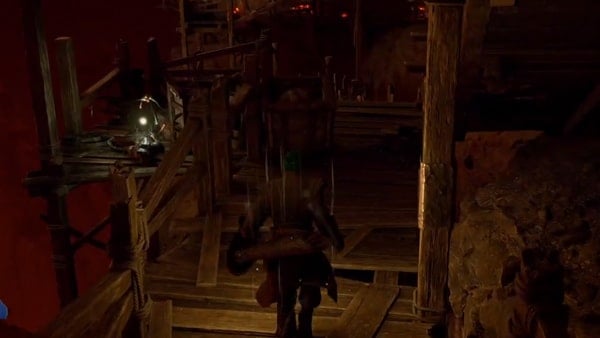
Now take the stairs down, at the bottom you will find a Giant Bearbug, don't stand near when it's killed because it blows up. On the left of the Bearbug's location, there's x1 Flame Resistance Ring.
On the right, there's a body that contains x2 Greystone Shard. Beware, a Rock Worm will emerge when you are looting the corpse. Drop from where you killed the Giant Bearbug and make a U-turn to loot x1 Club.
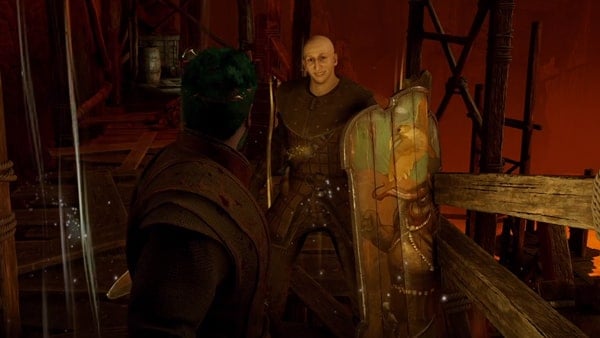
On the other side, you will find Patches, the Hyena. If you approach him like this, he will be surprised that you grabbed the Club without too much trouble. He leads you to a trap if you approach him from the front, telling you he wants you to have the Club you just managed to obtain.
Now go left and you will face four Bearbugs, take the stairs on the left and at the end, you will find x1 Great Axe. There's a Giant Bearbug on the right side before you took on the stairs. Past the Giant Bearbug, you can loot x2 Dragonstone Shard.
Turn back and go along the wall, you will find a door on your left, enter it and a Scale Miner coming at you once the patch branches out. To your right, there are two bodies. One contains x1 Clearstone Shard, and the other one contains x2 Large Hardstone Shard and x5 Hardstone Shard.
Turn back and now take the left path, beware of the shining lights, as was the case with the carts, if you get too close, they will blow up. When you reach the end, turn slightly to your right to keep going along another narrow path.
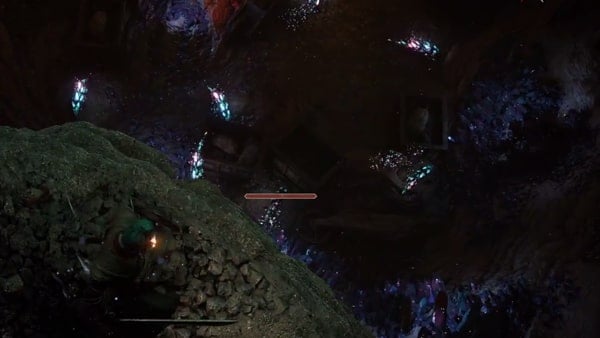
Keep going and you will find two Crystal Lizards. In this room you can activate the elevator, to take you to where you fought the Fat Official. If you decide to follow the lizards all the way, they will lead you to a nest that has a lot of Crystal Lizards. See Point A on Map 1. On the top left if you drop on a wooden platform, and then drop on the next platform you can obtain x1 Pure Sharpstone.
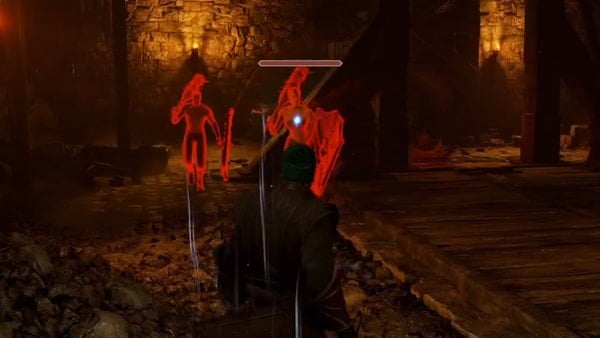
Beware there are two Black Phantoms guarding the nest's entrance. One drops x3 Clearstone Chunk and x1 Stone of Ephemeral Eyes and the other one drops x3 Dragonstone Chunk and x1 Stone of Ephemeral Eyes.
From the beginning of the Level; To Your Right
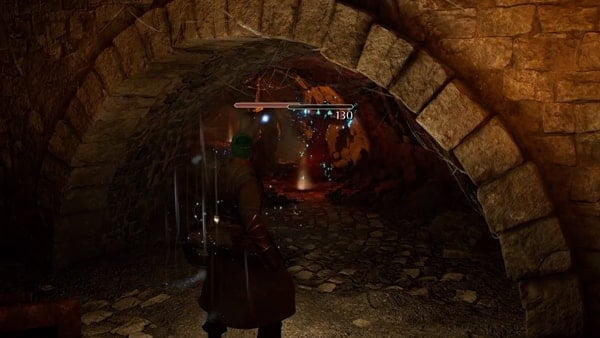
Keep going through the tunnel, fight your way through the Scale Miners until you reach the end. There is a long fall, that will probably kill you. Don't jump. See Starting Point to Point E on Map 1.
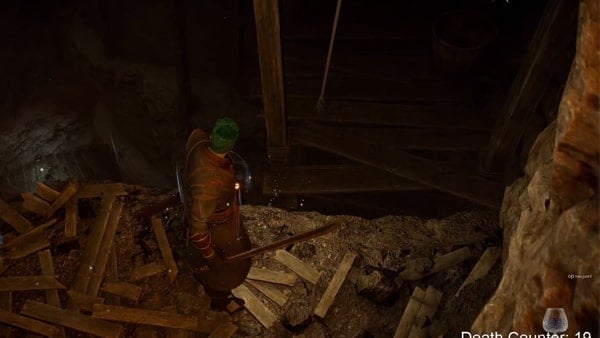
Turn right and go along the narrow corridor. Smash the ore carts. Position near the edge, and rotate the camera to see a wooden platform on the lower level. Drop down to it.
Once on this platform, you will have to drop onto the next one. Turn back and go to where the vertical beam is standing and drop down from there. On the next one, go to the middle of the platform, and drop. You will find a lootable body on your left, that contains x1 Plague Resistance Ring. Now go right and try to fall on the small wooden beam, at your right, there is a corpse hanging from it. You can loot it to obtain x1 Storied Warrior Soul.
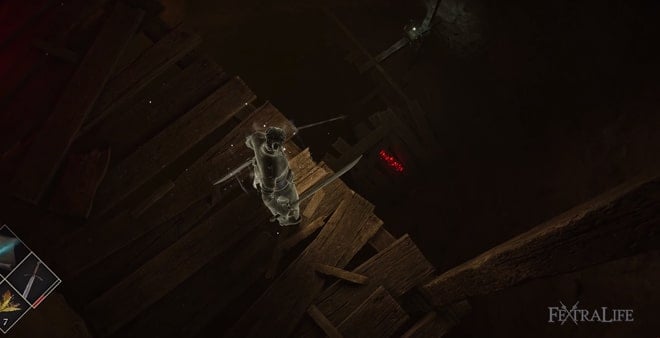
Retake the main beam and go across the other side and enter the cave. You will find a Crystal Lizard there. Turn back and take the wooden platform to your left. Keep going almost until the end, turn right, and drop.
On the next one, do the same, turn left, go almost until the end, turn right and drop. Now, do a 180° turn, go until the end and drop from the small gap at the end. On the next one, do the same, this time you'll notice that the gap is bigger than the one before.
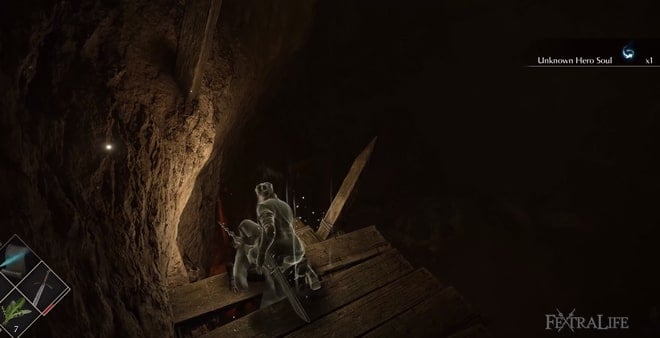
Turn back and take the stairs down, you will find a lootable corpse with x1 Unknown Hero Soul. Drop to the ground floor. A Rock Worm will emerge immediately. Turn right and go through the tunnel. It will lead you to a bigger room, turn left and go to the treasure. Before reaching it, three Rock Worms emerge. Take them out from a distance if possible.
Loot the body to obtain x2 Hands of God. Now turn back and keep moving forward, at your left you will find another body. This one contains x4 Full Moon Grass. Keep going forward and before the Fog door, turn right and you can loot x1 Stone of Ephemeral Eyes from a corpse.
You can go back to where you fought the first Rock Worm and find some destructible objects behind a door-like cavern that leads to a tight tunnel. Go all the way until the path divides into three. To your right, to your left, and in front of you.
Underground Tunnel: Right Path
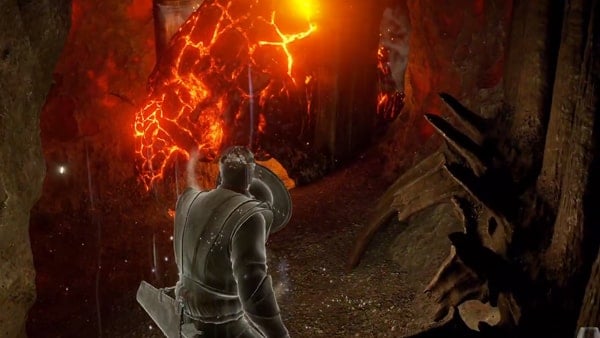
On the right side, there's a Giant Bearbug and behind it x1 Clearstone Chunk. If you continue, the path branches out this time in two, on the left, there's another Giant Bearbug. Once killed, the path branches out but it leads to the same path. Break some bones to advance, and once again, the patch branches. To your left, there's a body containing x1 Storied Warrior Soul.
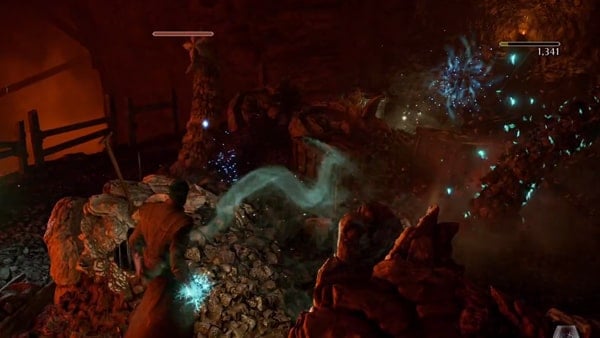
To your right, it leads you to a more open area, a Rock Worm will emerge near the entrance. To your right, among the ore carts, you can loot x1 Storied Warrior Soul. There will be two more Rock Worms, along the way. Also, a group of Flying Bearbugs will approach you from the edge.
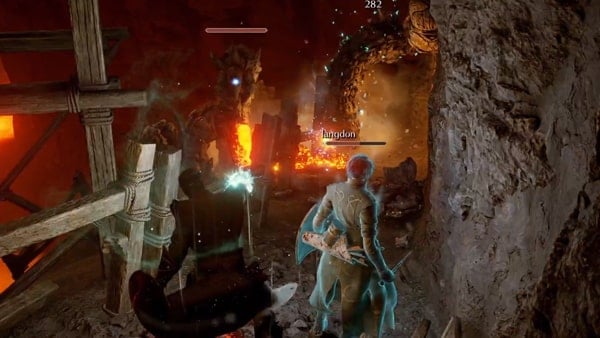
Keep advancing through the narrow path, once it branches out turn to your left and you will see a Crystal Lizard. Kill it. Continue moving upside, you will find three Rock Worms. past them, there's a body containing x1 Hardstone Chunk.
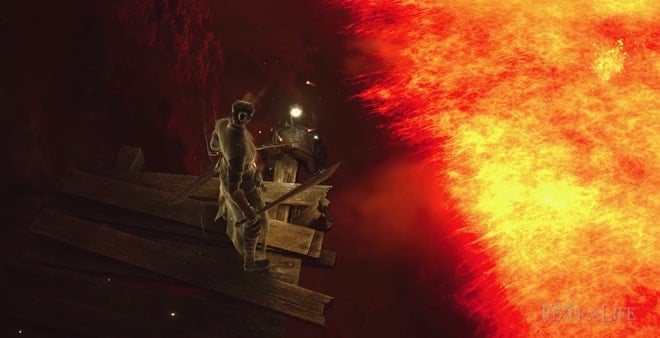
Now take the way up, you will find two Bearbugs. drop to the platform on the right to obtain x1 Dragonstone Shard on your right. On your left, there's a Giant Bearbug. Turn right and go down to obtain x1 Renowned Hero Soul, next to the ore carts. Drop from the part where the railing is missing to obtain x1 Stone of Ephemeral Eyes. On your left, you will see a platform that contains x1Dark Heater Shield +2. Check Point C on Map 2.
Keep going, to your right there's a little path and at the end, you can obtain x5 Augite of Guidance, you have to break some bones to be able to unblock it. If you turn back, you'll notice there's another narrow path on your left side.
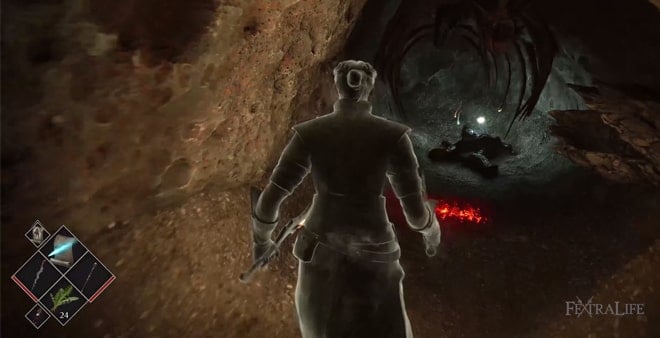
Take it, it will go slightly upwards, you will reach a gap and there is a treasure on the other side. If you fall down, to your right there is an exploding light, if you go past it, you will drop to the room before the one that had the Augite of Guidance. To your left, the path branches out, take the left path, and destroy the spine to loot x1 Dragon Long Sword+1.
If you take the other path, you will reach a lava-filled area filled with Giant Bearbugs, on your left, there's a body that contains x2 Dragonstone Chunk.
Underground Tunnel: Left Path
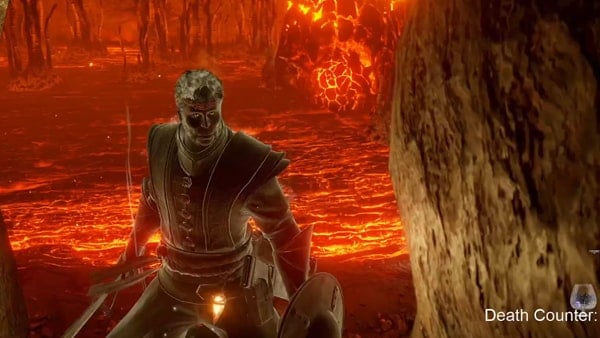
On the left side, you enter a lava-filled area with many Giant Bearbugs. Near the exit, there's a body that contains x1 Renowned Hero Soul. You can obtain x1 Pure Dragonstone and x2 Dragonstone Chunk if you keep going forward.
Front Path
In front of you there's another Giant Bearbug, behind it there is a body with x1 Stone of Ephemeral Eyes on it. You can't advance any further and have to choose one of the other two paths. Now enter the Fog door and prepare to face the Flamelurker. Before you head through the fog door, there's a body on the left side that you can loot to find x4 Full Moon Grass.
Boss Battle: Flamelurker
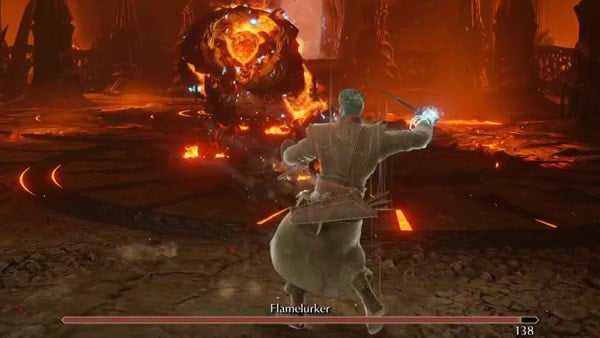
Click here to learn more about the strategies on how to defeat the Flamelurker. Once the boss is gone, on the left side of the room you can loot x1 Storied Hero Soul from a corpse behind some rocks. Also, while facing the stairs, turn right, you can find x2 Dragonstone Chunk behind a column. Touch the Archstone to obtain Searing Demon Soul.
Ceramic Coins Location
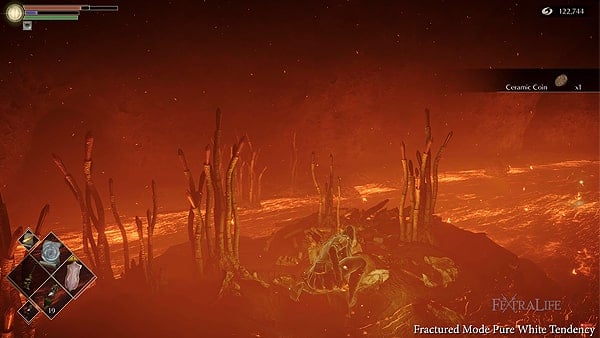
You'll be able to find one Ceramic Coin in this area but it requires the player to have Pure White World Tendency in Fractured Mode. To find it, start from Flamelurker Archstone (Underground Temple) and make your way to the lava pit, where there are multiple bearbugs. Break debris on one of the islands to find the coin. Video Location: Shown in our walkthrough video at 3:42. Click here to watch it.
The Tunnel City Video
The Tunnel City Map
The Tunnel City Trivia & Notes
 Anonymous
 Anonymous
 Anonymous
for beginners, SPEND ALL OF YOUR SOULS BEFORE PROCEEDING TO THE LEVEL!

 Anonymous
Also two Mace Shield Red Phantoms at Tunnel City on Black World, down the lift after the Fat Official. They spawn just once, drops include two Stone of Ephemeral Eyes. Please edit and add.

 Anonymous
Someone petition FromSoft to stop putting platforming sections in their games.

 Anonymous
So... I saw the black phantoms coming at me, realized I had like 2 healing items left and noped out of it and took the elevator back up. Then it came apparent that the black phantoms just straight up ran into the hole of where that elevator was and I have zero items to be found from these guys and they are most certainly considered dead since they did not respawn. Am I just out of luck here with those items now?!

 Anonymous
 Anonymous
I killed the huge bugbear near Patches before talking to him. The bear exploded and damaged him. Patches would only laugh and tell me I was a tough one. He was in the Nexus the next time I went there.


No mention of the loot on the far side ledge before you start platforming down the right path. Any clue how you get it?
1
+10
-1