The Ritual Path (Also known as "World 4 - 2" or "Adjudicator Archstone" in Demon's Souls) is a Location in Demon's Souls and Demon's Souls Remake. The Adjudicator Archstone is one of the archstones accessed via the Archstone of the Shadowmen. Read our Full The Ritual Path Walkthrough below. The Ritual Path can be found in the Shrine of Storms.

General Info
- Previous: Island's Edge
- Next: Altar of Storms
- Bosses: Old Hero
Video Walkthrough
Map
NPCs
Bosses
Items
Consumables
- x4 Crescent Moon Grass
- x5 Full Moon Grass
- x5 Half Moon Grass
- x5 Soul Remains
- x1 Sticky White Slime
- x3 Stone of Ephemeral Eyes
Equipment
- x1 Dagger
- x11 Kunai
- x1 Magic Sword "Makoto"
- x1 Hiltless
- x31 Holy Arrow
- x1 White Bow
- x1 Ronin's Ring
- x1 Ring of Devout Prayer
- x1 Gash Resistance Ring
- x1 Thief Ring
- x1 Saint's Robes
- x1 Saint's Gloves
- x1 Saint's Boots
Souls
Stones
Key Items
- N/A
Enemies
The Ritual Path World Tendency Events
White World
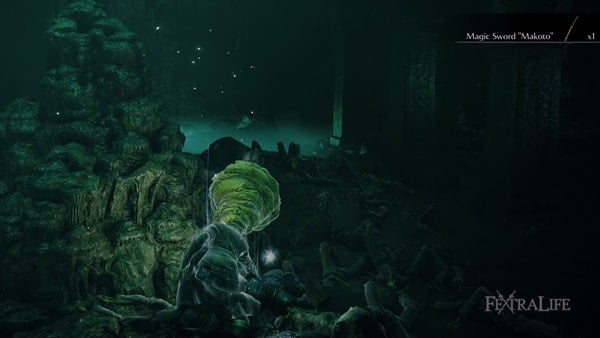
In the room Patches kicked you down, the inaccessible corpse is now on the ground. You can pick up the Magic Sword "Makoto".
Black World
A Primeval Demon within the left staircase near the first reaper. There is a breakable archway on the second landing. After killing the Dual-Katana Skeleton, look for a pathway along the left side of the cliff to walk up. About halfway along you should see it. A Crystal Lizard appears right before it.
- Note: The Primeval Demon shows up in Pure Black World Tendency is likely to drop a Colorless Demon's Soul when killed.
Two Black Phantom Gold Skeletons outside on cliffside after the second Reaper
One Black Phantom Dual-Katana Skeleton outside on cliffside after the second Reaper
Fractured Mode Pure Black World Tendency, Ceramic Coins Location
- In the pit where Patches kicks you down, check the corners and break boxes near the extremities.
Video Location: Shown in our walkthrough video at 12:37. Click here to watch it.
Full The Ritual Path Walkthrough
The Ritual Path: Starting Point
Go down the stairs, turn right and there is another set of stairs. Take the right ones until midway and drop down to obtain x1 Storied Warrior Soul, on the other set of stairs you can do the same thing to obtain x1 Stone of Ephemeral Eyes. You will see two Storm Beasts flying around.
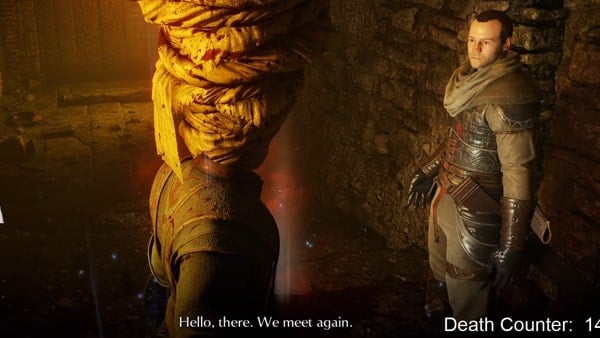
Enter through the tunnel in the middle of the room. Midway through it, to your left, you will find a body that contains x3 Soul Remains. A few meters further in, you will find Graverobber Blige, if you freed him in Shrine of Storms.
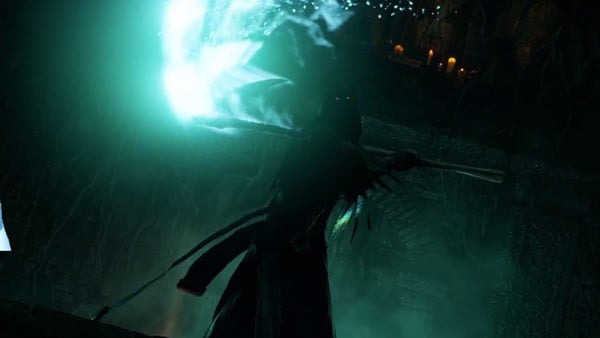
Keep going and enter the next room. You are treated to a new cutscene introducing you to a new type of enemy, the Reaper. Reapers summon Shadowlurkers, to overwhelm you. The trick is to kill the Reaper, that way all the summoned Enemies will disappear.
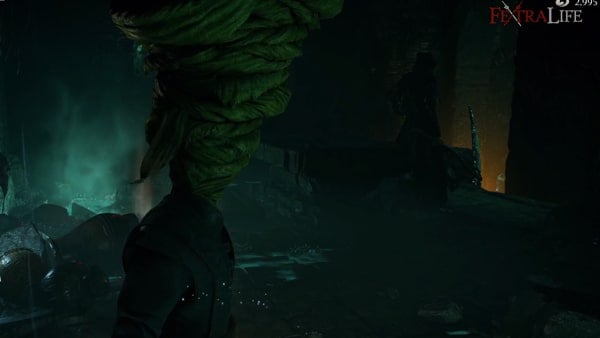
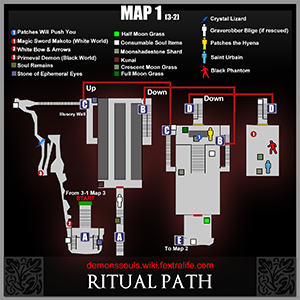
Behind a column where the Reaper was, you can loot x2 Full Moon Grass. Just behind the casket where the Reaper spawned, there's a switch. Stand on it to open the door to the next room. Go down the stairs, and turn right. There's a body containing x1 Moonshadestone Shard. Now turn to the left, and enter the door. You will find stairs, climb up. You will see an inaccessible treasure in front of you, turn left and take the bridge to the other side.
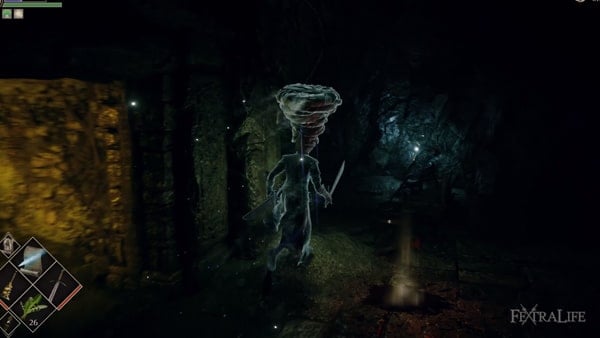
Once you are on the other side turn right, to find yourself in front of a body. Loot it for x11 Kunai. Go back from where you just came. Once you head out, you'll be in front o a corpse containing x1 Unknown Warrior Soul.
Saint Urbain
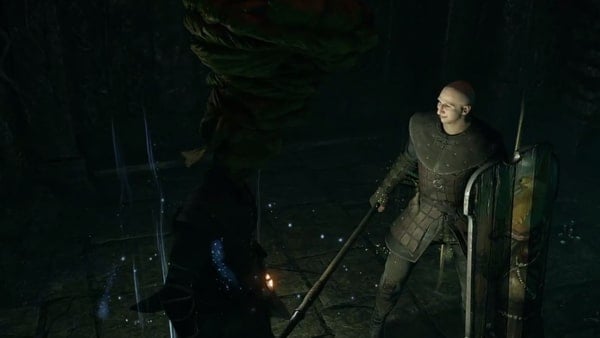
Turn right and enter the next room, you will find Patches, the Hyena. He will tell you that the pit near him is full of treasure but he can't go himself and suggests you have a look, don't do it just yet. Better be ready.
Go past him. turn left and pass the gate, turn right and keep going through the stairs, midway through them, you will find a body containing x1 Unknown Warrior Soul. Keep going all the way up, to reach the previously inaccessible treasure, this one is x1 Stone of Ephemeral Eyes. Beware of the switch under it, it will activate a trap.
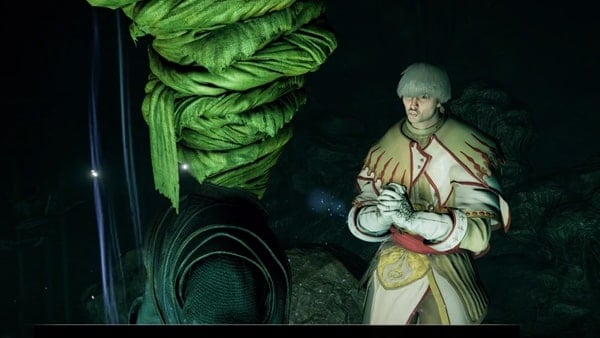
Now return to Patches, and get near the pit. He will kick you inside it and leave you to rot there. On your left, there's a body containing x2 Moonshadestone Shard. and you will find Saint Urbain. He tells you he was also fooled by Patches.
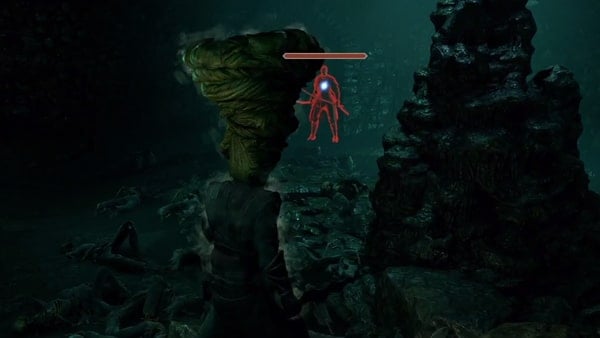
Turn back, to loot another body, this one contains x3 Crescent Moon Grass. In front of you there's an Uchigatana Black Phantom, he drops x3 Moonshadestone Chunk and x1 Stone of Ephemeral Eyes. After taking care of the Black Phantom, talk to Saint Urbain again, he will thank you and the next time you return to The Nexus he will be there.
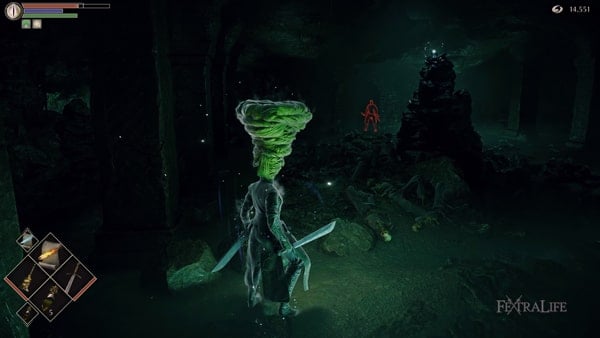
Go past the spire with the treasure at the top, and you'll reach a door, go through it. Take the stairs up. Midway you will find a body that contains x1 Unknown Warrior Soul. The treasure on that spire is Magic Sword "Makoto", to be able to loot it, you have to attain Pure White World Tendency.
Through the Crypt
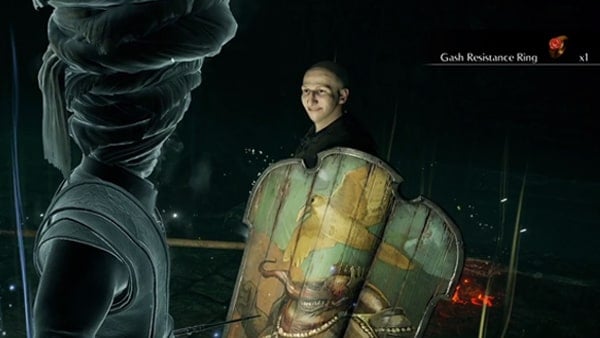
Once at the top, stand on the switch to open the door. On the other side, you will find Patches again. He will give you the Gash Resistance Ring. Before going outside, from where Patches is, go through the door on the right and then go through the door next to it that's also on the right where you'll find a set of stairs.
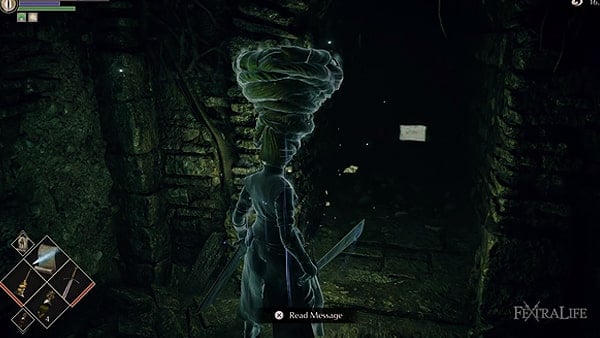
Head up the steps and you'll first find a body that can be looted to find x1 Unknown+Warrior+Soul. Go up one level, and on the right side, hit the wall to reveal a secret path. Video Location: Shown in our walkthrough video N9 at 12:30. Click here to watch it. At the end of the secret path, there's a Dual Katana Black Skeleton enemy guarding the area, killing it drops x2 Bladestone Shard, and by the edge of the cliff, there's a body that you can loot to find x1 Storied Warrior Soul.
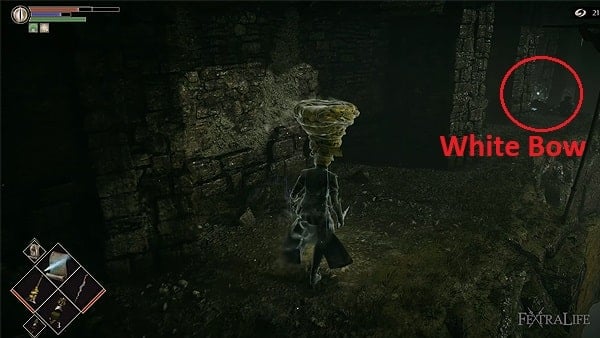
Before heading back inside, on the left side, you'll see a narrow path that you can take that leads to the top where you'll encounter a Crystal Lizard along the way that drops x1 Pure Moonshadestone and x1 Moonshadestone Chunk, and at the top of the path is a body that you can loot to find x1 White Bow with x18 White Arrow. Go back down and head back inside, head up the top of the stairs to find x1 Stone of Ephemeral Eyes.
Be mindful of the floor panel that triggers a trap. Now go back down and go through the opened door that leads outside. Once past it, turn left immediately to loot a body for x5 Half Moon Grass. Head outside, on the right side there's x1 Unknown Warrior Soul.
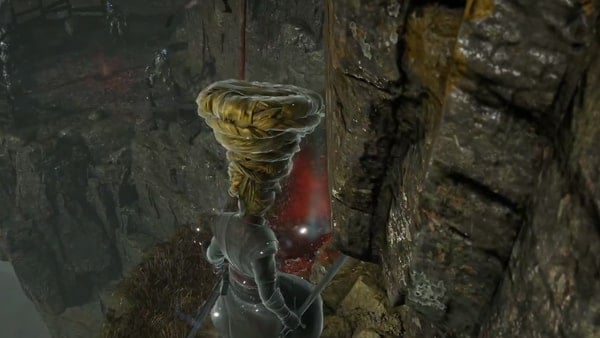
There are three Silver Skeletons, two melee and one ranged. It is advised to not fight them there, there's little room to dodge and high chances to end up falling to death. Try to lure them to a safer position. Keep going down, this time you will be faced by two Gold Skeletons, on your left you can find x1 Storied Warrior Soul. Past the Skeletons, to the right, there is a fog door.
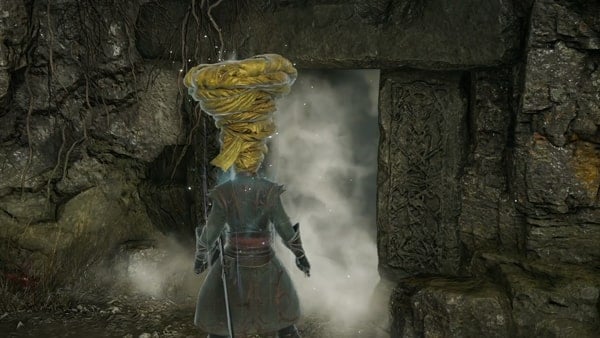
Pass through it, head-on along the tunnel, and grab x2 Soul Remains on your right. Keep going through the little bridge. At the end of the path, grab x1 Moonshadestone Shard. To your left, there is a Shadowlurker, that will attempt to hurt you with its laser-like attack. Dispatch it, and keep going down and turning left when mandatory.
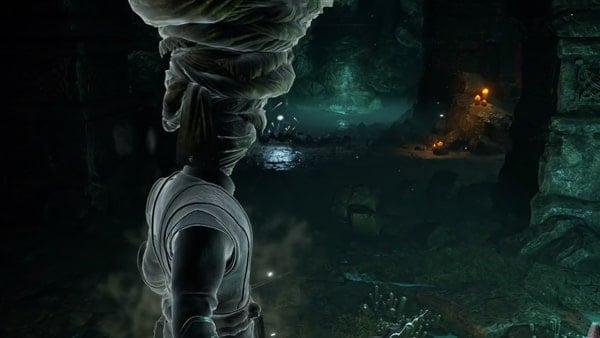
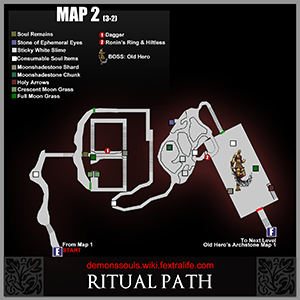
After you turn left the second time, you will face another Shadowlurker, turn right around the corner to find a Reaper, then turn left to loot a body that contains x1 Dagger. See Point 1 on Map 2 for reference. Continue moving forward until you reach the wall and turn right to go downstairs until you reach the fog door. Before entering, turn right and loot the two bodies lying there. You can obtain x1 Crescent Moon Grass on each one, beware of the hidden Shadowlurkers.
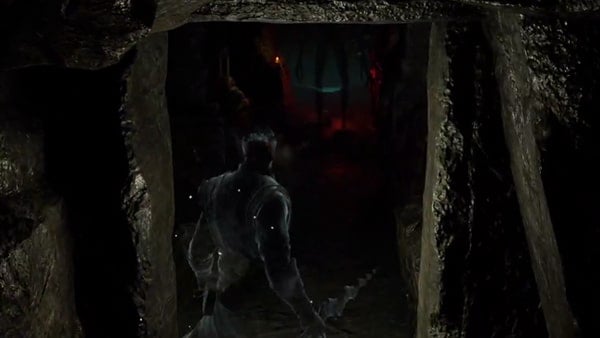
Once you are clear, head to the fog door and pass through it. Turn right and keep going forward until you reach a tunnel. Inside you will be greeted by a Shadowlurker. Kill it and turn right, there should be another Shadowlurker at the end of the corridor. Move forward, and when the corridor widens turn left to find a Reaper. Take the left stairs down, midway through, you will find a body that contains x1 Storied Warrior Soul.
Phosphorescent Slug Nest
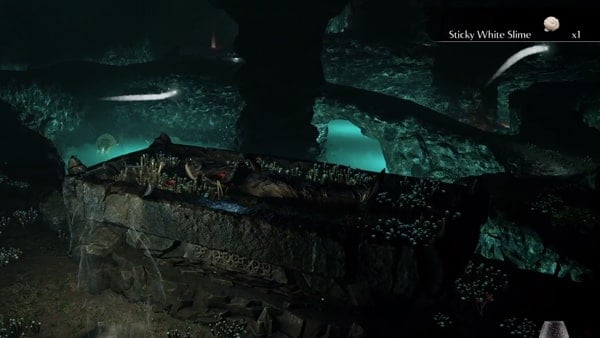
Keep going until the area opens up in a cavern-like structure, evade the shiny flying orbs, if one hits you, it will explode. Move forward towards the sarcophagus to loot x1 Sticky White Slime. Turn back and go down to face two Phosphorescent Slug. Turn right. Head to the next area, before entering turn left to loot x1 Moonshadestone Chunk, beware of the Phosphorescent Slug hiding behind the column. Go ahead and prepare to face five Phosphorescent Slugs.
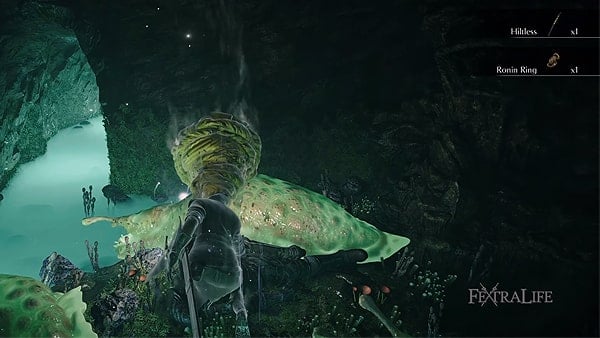
Keep going and turn left, you will arrive at a small hidden spot that contains two Phosphorescent Slug more. Turn to the small right hole to enter a small room where there's a treasure in the middle and four Phosphorescent Slugs. After you've battled all four Slugs, loot the treasure to obtain x1 Ronin's Ring and x1 Hiltless - see Point 2 on Map 2 for reference.
Keep going along the corridor, turn right to obtain x1 Storied Warrior Soul. Again resume your route and you will be at the beginning where you fought the first two Phosphorescent Slugs.
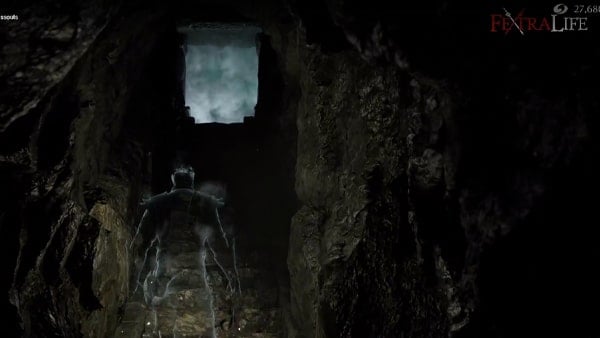
Climb back up, go to your left until the next big platform, then take the only path available to you. At the crossroads take left until you reach the bodies beneath the door. Pass through that door to enter the narrow cave.
Take the stairs up. Enter the fog door at the top to enter the boss area. Loot the sarcophagus in front of you to obtain x1 Legendary Warrior Soul, keep advancing forward to trigger a cutscene. Prepare to face the Old Hero
Boss Battle: The Old Hero
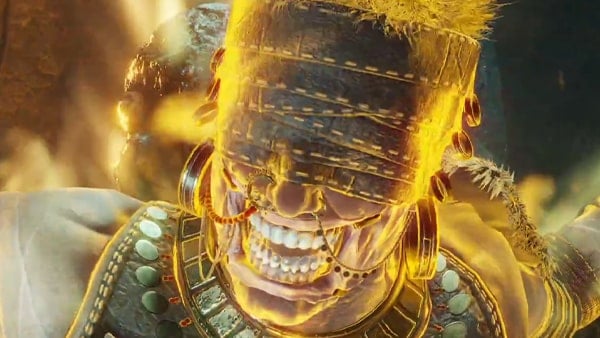
The Old Hero is a towering hero of legend brought to life by the Old One. It wields a massive curved sword made of quartz crystal. The Hero is blind, with his eyes either being covered or removed entirely. As a result, he has difficulty searching for his opponent and can be seen feeling around with his left hand during the fight. Like the Adjudicator and the shadow man on the Archstone, the Old Hero does not have lips. You can check the Old Hero page or the video guide below to learn about tips and strategies on how to defeat this boss.
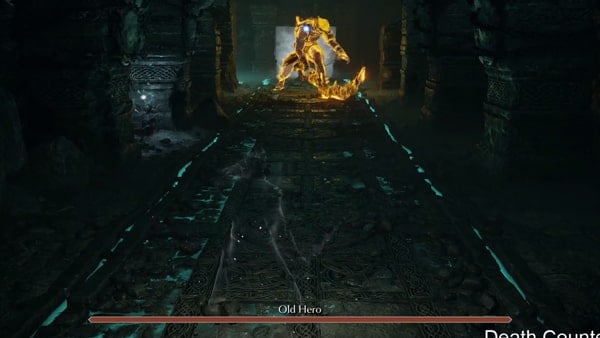
On the left side of the battlefield, you can loot x3 Full Moon Grass and on the right, you can find x1 Moonshadestone Shard. Near the archstone, turn left and climb up the little staircase to obtain x31 Holy Arrow. Touch the archstone to obtain x1 Hero Demon Soul and return to The Nexus to prepare for what's to come next.
Ceramic Coins Location
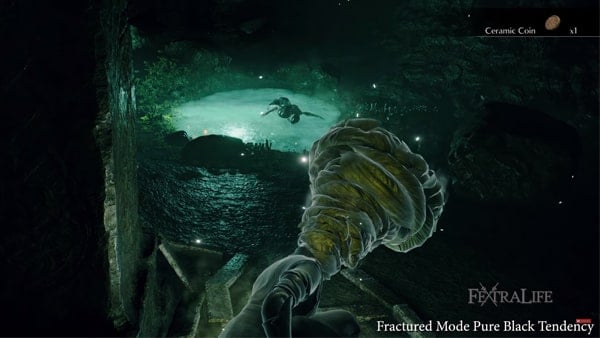
In this area, you'll be able to find a Ceramic Coin, players, on the other hand, must acquire Pure Black World Tendency for this item to appear. In the pit where Patches kicks you down and you find Saint Urbain, check the corners and break boxes near the extremities. Video Location: Shown in our walkthrough video at 12:37. Click here to watch it.
The Ritual Path Video
The Ritual Path Map
The Ritual Path Trivia & Notes:
 Anonymous
 Anonymous
 Anonymous
Thief's ring and cloak are going to be your best friends here.

 Anonymous
 Anonymous
 Anonymous
This is my go-to level for farming souls. Killing the storm beasts and the reaper at the beginning net you close to 6,000 souls. Rinse and repeat. But if you enjoy the misery of this level, if you run thru it arch stone to arch stone you’ll end up with around 20K+ souls.

 Anonymous
I despise this Level, if you try to attack to close to the wall, you can’t attack because you hit the god forsaken wall and get blasted by an energy beam

 Anonymous
Weakest area in the game IMO. Unlike all the others, this is a mostly linear slog with very little off the beaten path after the first room, and said path is just a lot of narrow hallways or narrow paths on cliff edges (though 1-2 is a close second IMO)

 Anonymous
 Anonymous
 Anonymous
2 gold skeletons, équip thief ring and agrro them one at the time. Equip Fachion +1 from island's edge and spam strong attack when you can. They should be stun a bit enought to lanf another hit. At least in ps3 version it work

 Anonymous
Okay but this one area is harder than the entire souls franchise as a whole. If you have more than 10 souls go back you’ll lose them.

 Anonymous
Took me give attempts to make it to the archstone. Those damn babies

 Anonymous
This has to be area where I've been invaded the most, is this area the new invading spot?

 Anonymous

For all soul farmers / Moonshadestone chunk hunters, if you do a run from the 4-3 archstone back to the 4-2 archstone, the storm beasts won't spawn. Makes traversing the cliffsides and fighting the skeletons a little easier.
0
+10
-1