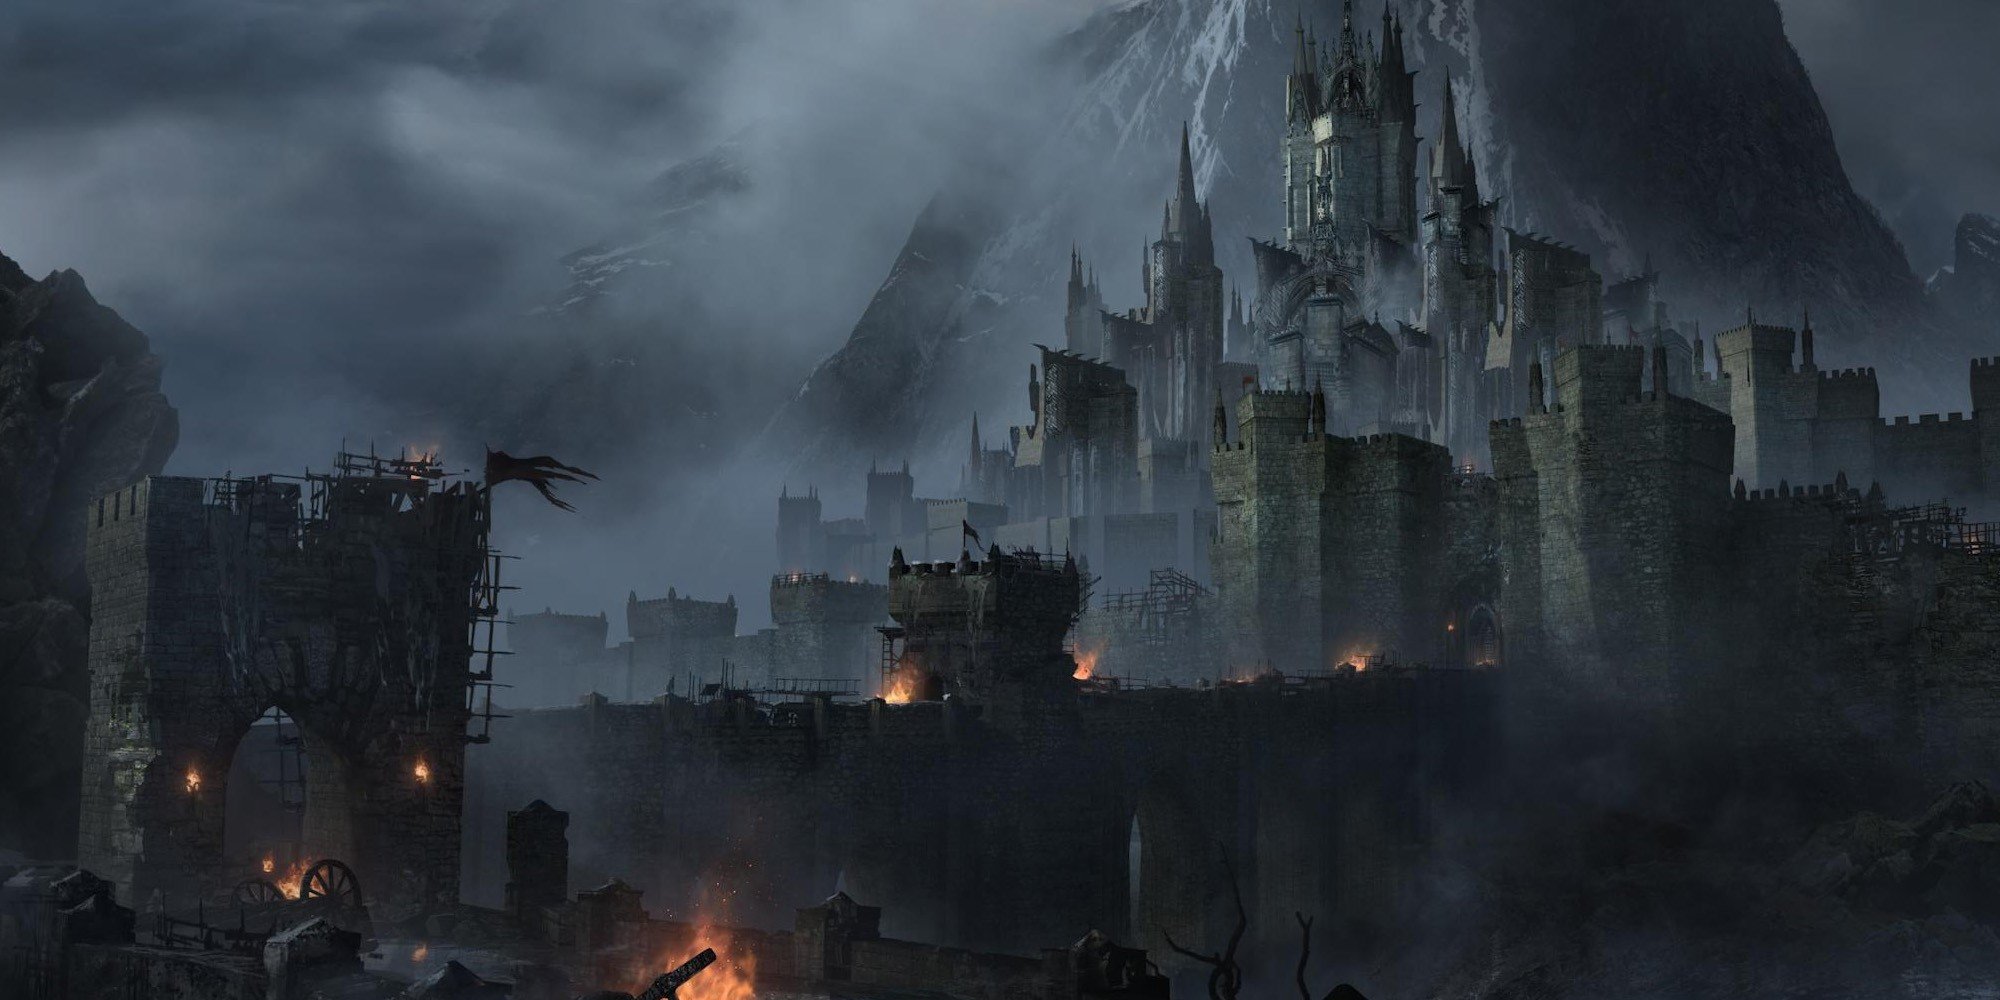
The Lord's Path (Also known as "World 1 - 2" or "Phalanx Archstone" in Demon's Souls) is a Location in Demon's Souls Remake. The Archstone of the Phalanx Demon. Past the huge gates of Boletarian Palace lies what is now a feeding ground for dragons, the Cliff Pathway, which leads to the inner ward, where knights make their abode. This location is only available after defeating Phalanx in World 1-1 or the Gates of Boletaria. The Lord's Path can be found in the Boletarian Palace.

General Info
- Previous: Gates of Boletaria
- Next: Inner Ward
- Bosses: Tower Knight, Red Dragon
Video Walkthrough
Map
NPCs
Bosses
- Tower Knight
- Red Dragon (Optional)
Items
Consumables
- x12 Crescent Moon Grass
- x3 Dark Moon Grass
- x2 Full Moon Grass
- x3 Half Moon Grass
- x3 Noble's Lotus
- x2 Stone of Ephemeral Eyes
Equipment
- x1 Winged Spear
- x1 Compound Short Bow
- x1 Wooden Catalyst
- x6 Heavy Arrow
- x1 Spiked Shield
- x1 Tower Shield
- x10 Throwing Knife
- x1 Gash Resistance Ring
- x1 Brushwood Set (Biorr's Drop)
- 1x Blue-Eye Knight Cuirass
Souls
- x1 Iron Demon Soul
- x1 Small Scaled Flame Demon Soul (Optional)
- x1 Unknown Hero Soul
- x2 Unknown Warrior Soul
- x2 Renowned Warrior Soul
- x1 Storied Hero Soul
Stones
- N/A
Key Items
Enemies
The Lord's Path World Tendency Events
White World
N/A
Black World
Two Black Phantom Blue Eye Knights appear at the end of the Red Dragon bridge, before the Tower Knight.
Fractured Mode Pure Black World Tendency, Ceramic Coins Location
- On the upper floor of the tower near the boss fog gate, go up the stairs to the floor above and break the table near the winch holding the drawbridge.
Video Location: Shown in our walkthrough video at 8:40. Click here to watch it.
Full The Lord's Path Walkthrough
The Lord's Path: Starting Point
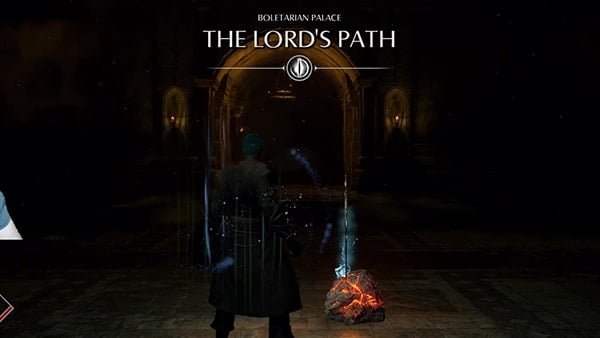
Once you warp from the Archstone of the Covetous King from The Nexus, you will arrive at The Lord's Path which is also known as the Archstone of the Phalanx Demon or World 1-2 in the original Demon's Souls, you basically arrive at the area where you fought Phalanx. Go past the giant archway you have in front of you. Keep going forward through the corridor. You will arrive at a room with Hoplites. There are two on your left, two on your right, and two more at the end of the room.
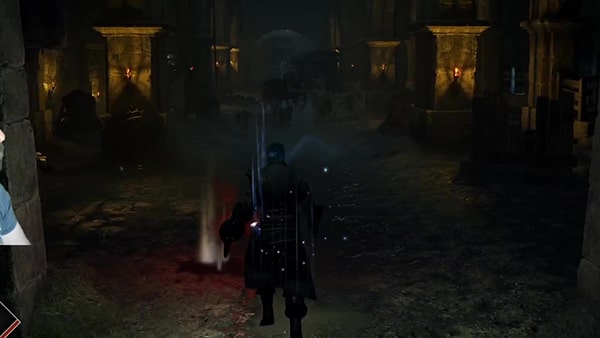
Try to take them one at a time and attack their weak spot: their backs. On your right side, you can examine a body to obtain x10 Throwing Knife. On the left side, you can obtain x3 Half Moon Grass.
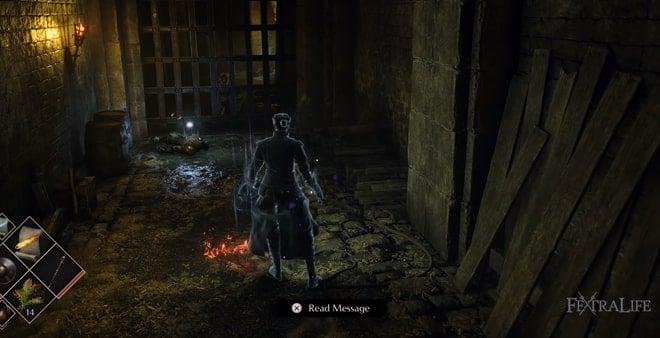
Go to the left side of the room, go down the small corridor until you reach another lootable corpse near a big iron gate. You can obtain x1 Unknown Warrior Soul. There you will meet Ostrava, of Boletaria again. He is in need of help again and asks you to get rid of some Enemies. He also warns you about the flying dragons roaming The Lord's Path.
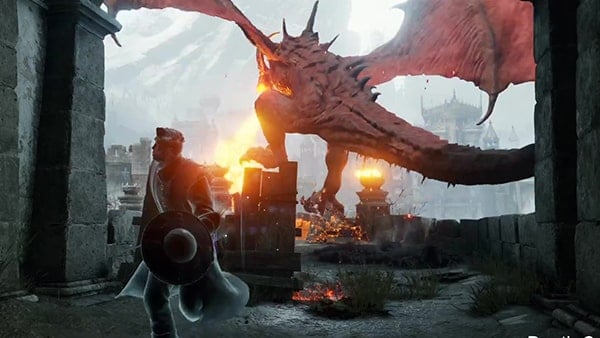
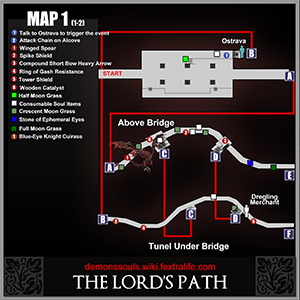
Leave him and return to the main path. Keep heading up until you exit the building, which you'll now be at point A, above the bridge upon looking at Map 1. Now prepare to run, don't mind the items at first, and just keep going until the next building. The Red Dragon appears and burns the whole bridge down. It keeps doing this bombing runs every time, however, you can safely loot the nearest corpse, which contains x3 Crescent Moon Grass.
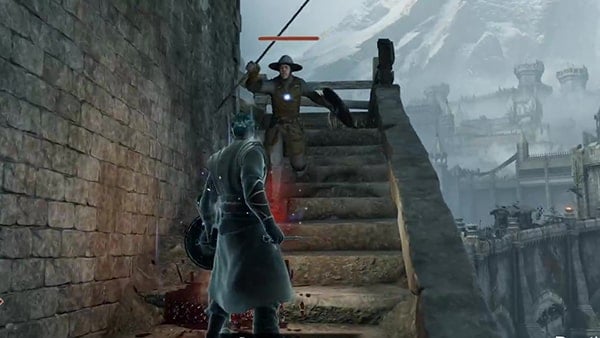
In this building, turn right and head past the door frame. You will find two sets of stairs, one heading up and one heading down. Take the first one and face a spear-wielding Boletaria Soldier. There's an axe-wielding one on the top of the building.
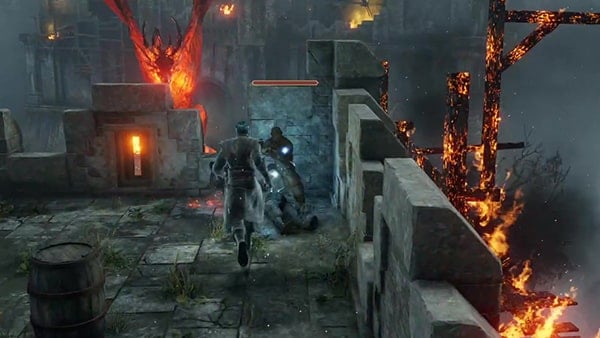
Once you've dealt with them, head to the top of the building. There you will find two more Boletaria Soldiers, this time wielding crossbows. At your left, you can loot an Unknown Warrior Soul from a corpse. On the right side, you will find a Wooden Catalyst on a corpse.
Optional Boss: Red Dragon
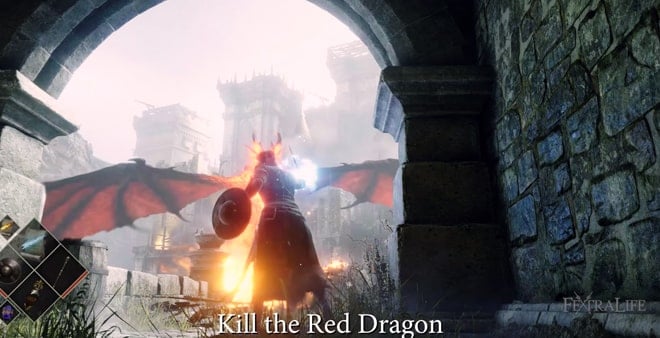
You can attempt to kill the Red Dragon while it performs the bombing runs. To do so, once you are at the top of the building, turn back, and face from where the Dragon is coming, and use any ranged weapon or ability to kill it. It takes a lot of arrows and a lot of spells to kill.
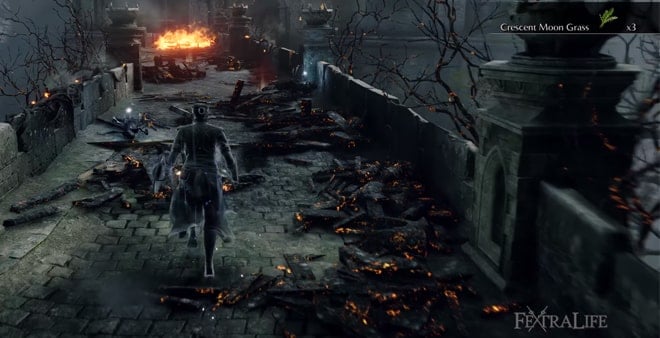
You will obtain x1 Small Scaled Flame Demon Soul for your troubles. You can now loot the bridge without worrying about being burned alive by the Red Dragon You can find x1 Winged Spear, among some grass.
Underground Tunnel: West Side
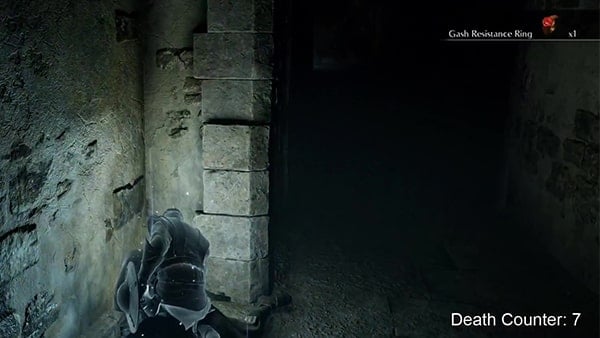
Now go down the stairs again, and this time take the ones that go further down. Keep going down until you reach a hallway, turn left, and go down the corridor. You will first face a hidden Dregling on your left side. Then you will spot several crossbow-wielding Boletaria Soldiers. Take them down, and loot the body on the left side of the wall to obtain x1 Gash Resistance Ring. See Point B, Tunnel Underground Bridge on Map 1.
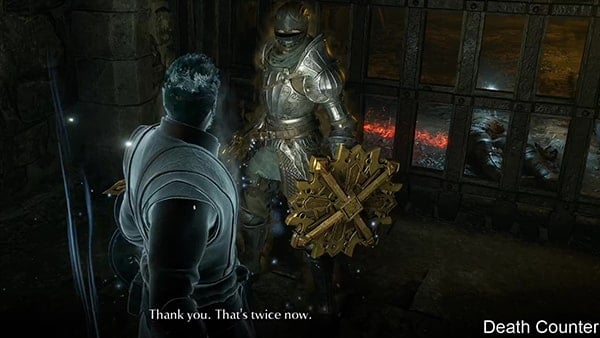
Keep going forward until you reach Ostrava, of Boletaria. Once you reach him, check the corner of the wall on the left near the wooden barricade, you'll find a Blue-Eye Knight Cuirass. Speak to him after grabbing the armor piece. He thanks you again for saving him and gives you x3 Dark Moon Grass.
Underground Tunnel: East Side
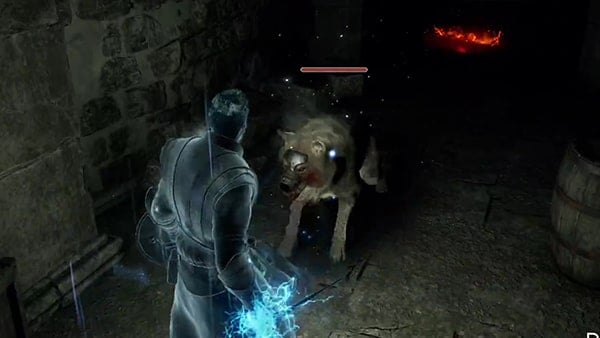
Go back through the passage, escorting Ostrava. Pass the Open iron gate, a few meters ahead you will face a Dregling hidden on your left side. Dispatch him. There's another one a few meters ahead. In the next room, there are 5 Dogs. Don't rush in and try to lure him by 1 or maximum by 2. If the whole pack comes after you, they'll overwhelm you. Once the Dogs are gone, keep going.
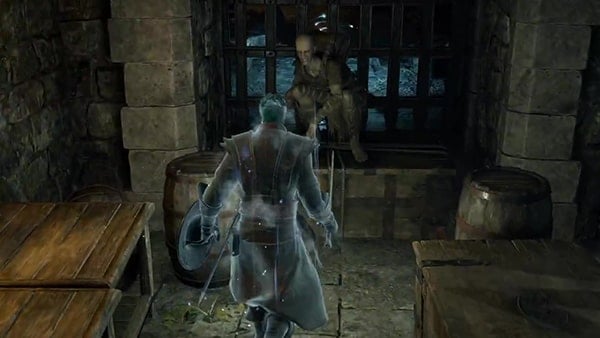
On your left, there's a body containing x3 Crescent Moon Grass. Past the open iron gate, there's a Boletaria Soldier with a crossbow. Destroy the wooden barricade and beyond this point you will find the Dregling Merchant, sitting on a chest. You can interact with him if you want to trade.
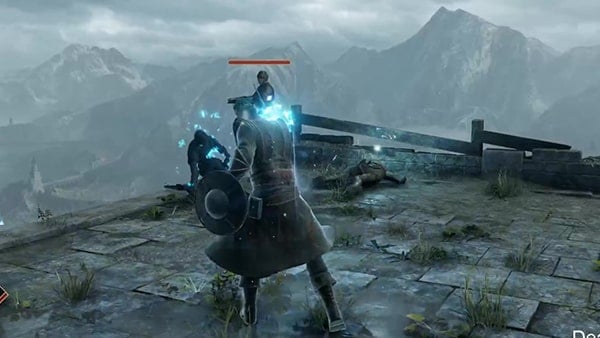
Go back to the room where you killed the last Boletaria Soldier. Turn left and smash the wooden barricade blocking the door which is at Point D on Map 1. Go past it and take the stairs. Go all the way up to face two crossbow-wielding Boletaria Soldiers. Examine the remains beneath the soldiers to find x1 Compound Short Bow and x6 Heavy Arrow.
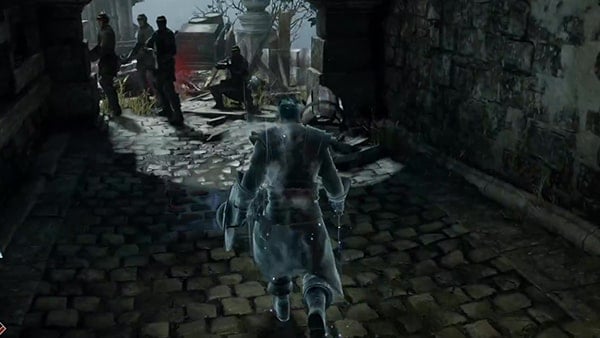
Go back the stairs and enter the tower. You will see on your right a door covered with fog, but before heading there deal with the Boletaria Soldiers on your left and these soldiers are four crossbow-wielding Soldiers so move around to dodge their attacks.
Through the Palace Bridge
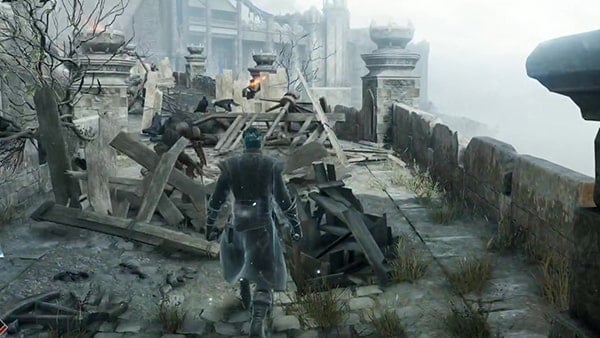
Now go back to the door and go through it. Behind the wooden barricade on your left, there's a Dregling. Dispatch it. Past the dead horse, on your right, there's another one. Once you cleared the area of Enemies, wait for the Red Dragon to do his bombing run, and then run in the same direction. Do not stop sprinting until you reach the end. On this walkway there are two bodies, the first one has x1 Stone of Ephemeral Eyes and the second one has x2 Full Moon Grass.
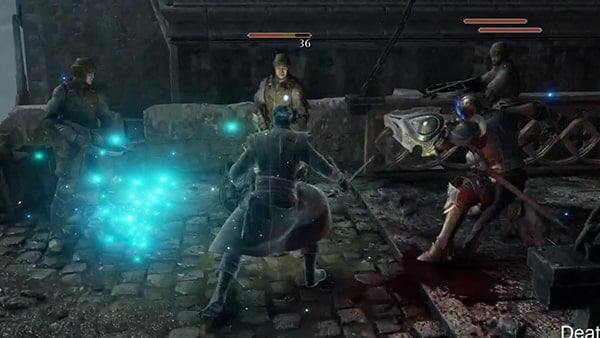
You will be attacked by 3 crossbow-wielding Boletaria Soldiers and a Blue Eye Knight. There are also two more Soldiers shooting from the top of the tower. Beat them, and keep going to find another Blue Eye Knight on his own. You should find yourself near Point E on Map 1.
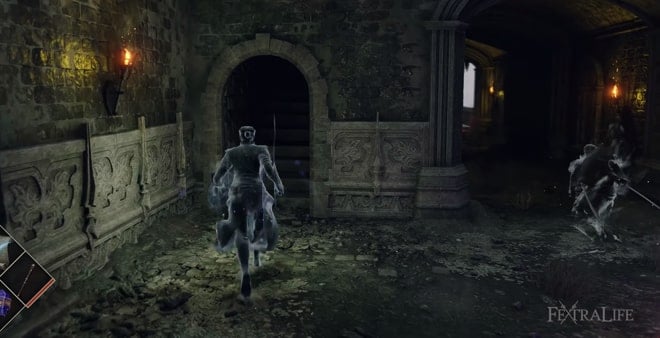
After beating him, you will be in front of a door covered in fog, before entering. To your right, you can go up by taking the staircase. Before entering the next room, know that there is a Crystal Lizard. When you enter the room, rush towards it to kill it. It drops different types of weapon upgrade stones.
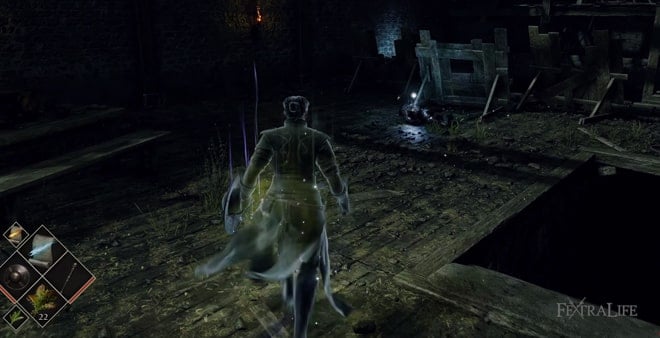
Keep going up on the tower, until the top. You will find the 2 Boletaria Soldiers that were shooting you when you were fighting near the bridge. Kill them. Examine the two bodies on the top of the tower to loot x1 Stone of Ephemeral Eyes and x1 Renowned Warrior Soul. There's another body near the wooden barricade to loot x1 Unknown Hero Soul, and beyond that, on the left side of the wall, x3 Noble's Lotus on another body.
Boss Battle: Tower Knight
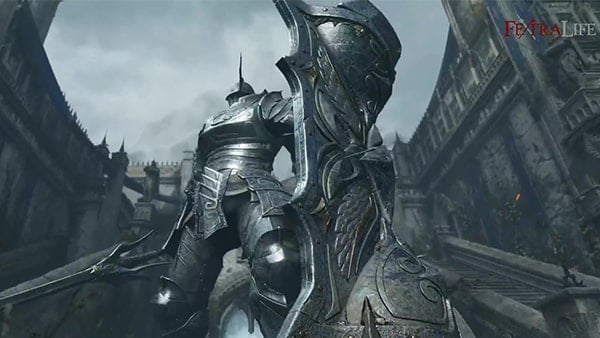
Go down the stairs all the way and enter the fog door to face the next boss, the Tower Knight. For the tactics on how to defeat this boss, refer to the Tower Knight individual page. After you kill the Demon, a new Archstone appears and gives you the Iron Demon Soul. Now you can explore the whole place and loot all the bodies without having to worry about being damaged.
The next area is behind a "Thick fog" and you can't gain access to it until you defeat any of the main demons of any other area (Dragon God, Old Monk, Storm King, or Maiden Astraea). Once ready, return to The Nexus to prepare for your next journey.
Freeing Biorr, of the Twin Fangs
To free Biorr, of the Twin Fangs you need x1 Iron Key Ring that is dropped by a Fat Official in Tower Knight Archstone.
Head back to the area before the Tower Knight boss battle. Kill the first Blue Eye Knight, and use the Iron Key Ring to open the door on your right.
Go through the door and keep heading down towards the prison. Turn left and you will find a Fat Official, he drops the Bloody Iron Key.
Open the first prison cell to loot x1 Renowned Hero Soul from a corpse.
Now move onto the next cell, to find Biorr, of the Twin Fangs. He tells you, you deserve some reward for saving him and then falls asleep.
The next cell is empty, the fourth one you can loot x1 Storied Hero Soul from a corpse. Leave that cell and turn to your right.
You will see a Crystal Lizard in the distance. Chase it and kill it. Beyond the Lizard, there's a body containing x1 Tower Shield.
Ceramic Coins Location
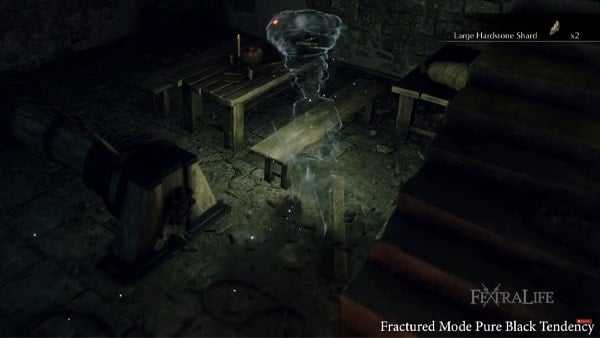
In this area, you'll be able to find a Ceramic Coin, players, on the other hand, must acquire Pure Black World Tendency for this item to appear. To find it, start from the Inner Ward archstone and backtrack just past the boss fog towards the previous area and go up the stairs to the point where you encounter a Crystal Lizard. Simply break the table near the winch holding the drawbridge to find the coin. Video Location: Shown in our walkthrough video at 8:40. Click here to watch it.
The Lord's Path Video
The Lord's Path Map
The Lord's Path Trivia & Notes
 Anonymous
Why there is written this: "need x1 Iron Key Ring that is dropped by a Fat Official" and than "Kill the first Blue Eye Knight, and use the Iron Key Ring to open the door on your right." ? No Iron Key from Blue Eye Knight .....

 Anonymous
to the person who invaded me at the start of this map, who i couldn’t kill because they left the game when they knew they got got, i just want to say this: you are a coward. umbasa.

On the first map there's a blue circle marked nr. 2, which isn't on the map.
It says "attack chain on alcove"
What chain?? On what alcove??


Helped Ostrava during 1-1 but didn't see him in 1-2...
0
+10
-1