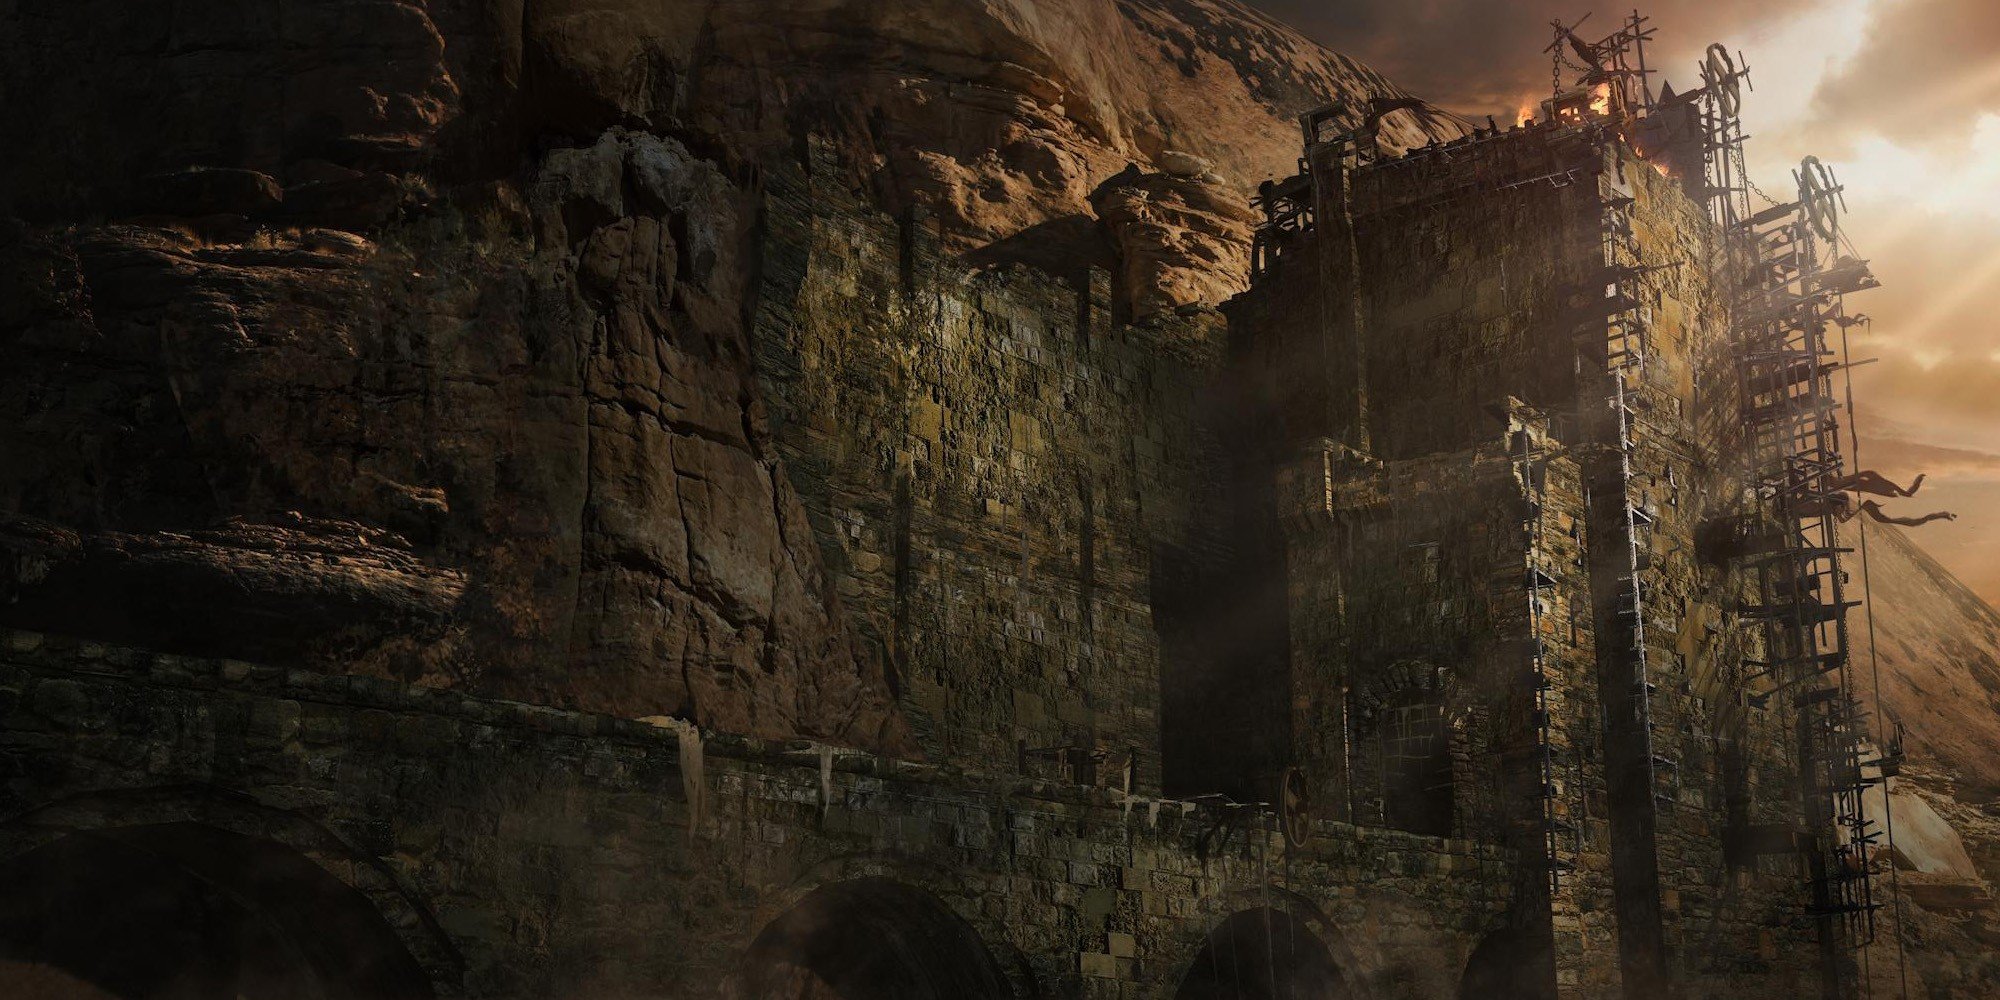
Smithing Grounds (Also known as "World 2-1" or "Stonefang Tunnel" in Demon's Souls) is a Location in Demon's Souls and Demon's Souls Remake. The Stonefang Tunnel features a city of miners who maintain the giant tunnel. Long ago, the efforts of the hard-headed burrowers allowed Boletarian soldiers to carry out their work, but now, dispossessed of their souls, they have no thoughts of their own, and work in silence, tirelessly, without purpose. The Smithing Grounds can be found in the Stonefang Tunnel.

General Info
- Previous: The King's Tower
- Next: The Tunnel City
- Bosses: Armor Spider
Video Walkthrough
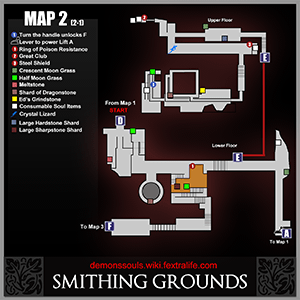
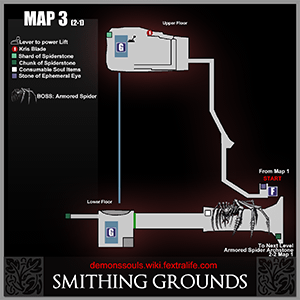
Map
NPCs
Bosses
Items
Consumables
- x6 Crescent Moon Grass
- x2 Ed's Sharpening Stone
- x7 Half Moon Grass
- x2 Stone of Ephemeral Eyes
- x2 Sticky White Slime
Equipment
- x1 Kris Blade
- x1 Crushing Battle Axe +1
- x1 Pickaxe
- x1 Great Club
- x1 Steel Shield
- x1 Ring of Poison Resistance
Souls
- x1 Colorless Demon's Soul (Black World Tendency Required)
- x1 Hard Demon Soul
- x1 Renowned Hero Soul
- x3 Renowned Warrior Soul
- x3 Unknown Hero Soul
- x1 Unknown Warrior Soul
Stones
- x1 Hardstone Chunk
- x1 Sharpstone Chunk
- x2 Spiderstone Chunk
- x1 Large Hardstone Shard
- x1 Large Sharpstone Shard
- x1 Pure Spiderstone
- x5 Clearstone Shard
- x2 Dragonstone Shard
Key Items
- ??
Enemies
Smithing Grounds World Tendency Events
White World
No White World Events.
Black World
A Primeval Demon is located outside, at the bottom of the elevator where enemies are throwing boulders. You can see the demon from the stairs at the archstone.
- Note: The Primeval Demon shows up in Pure Black World Tendency and is likely to drop a Colorless Demon's Soul when killed.
- The wheel to activate the platform is inside the building
A Pickaxe-wielding Black Phantom Scale Miners is added to the 3 Flame Blade wielding Scale Miners by the second fog-gate. If you break the barrels and cart straight here, it will lead to the outside where you can activate the rotating platform used to reach Blacksmith Ed
Two Pickaxe-wielding Black Phantoms Scale Miners are added to the group of Flame Blade Wielding Scale Miners and stone-throwers. They are alert to the rear approach.
- Note: there is a Crystal Lizard in front of them
A Pickaxe-wielding Black Phantom Scale Miner is at the end of the last Wooden Bridge, before the Boss area.
Fractured Mode Pure Black World Tendency, Ceramic Coins Location
- In the area with the lava lizards, after you get attacked by the dogs, go to the next area down the slope and break wooden boxes near ore smelting pots.
Video Location: Shown in our walkthrough video at 10:00. Click here to watch it.
Full Smithing Grounds Walkthrough
Smithing Grounds: The Filthy Man
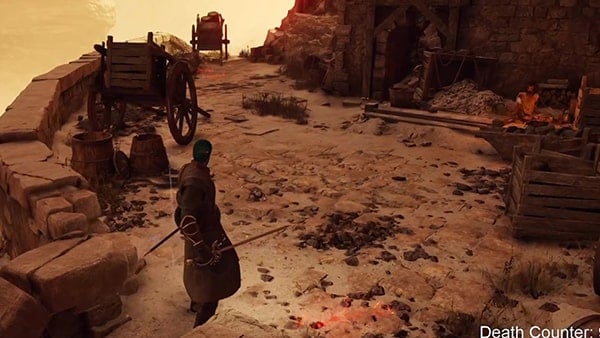
To enter, touch the Archstone of the Digger King in The Nexus. Upon arrival at the Stonefang Tunnel (Smithing Grounds), take the stairs at your left. On your left, there's a Crystal Lizard. It's pretty far. Try to rush it to kill it before it gets away or you can attack it with any ranged weapons. On your right, you can see the Filthy Man, sitting on the ground. Destroy the broken chariot in front of you to be able to loot a corpse to find x1 Unknown Hero Soul.
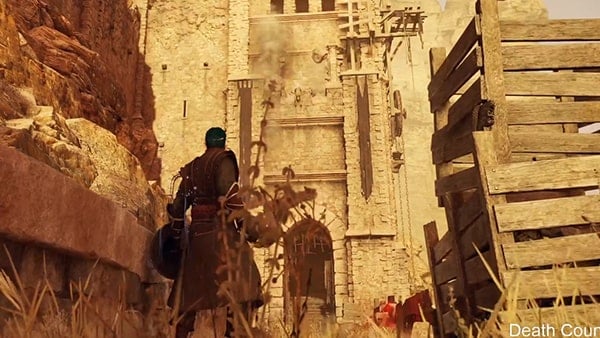
Turn back and take the left path. There are two Enemies throwing boulders at you from a building. Run as fast as you can to avoid them after they throw about two rocks. On the left side, behind breakable debris, you will be able to loot x2 Sticky White Slime.
Once inside the building. turn to your right. You will see a lever, on the left side of the door. Use it. This will activate the elevator past the door. Go through the door and turn left to take the elevator up.
Once it reaches a small balcony, get down from the elevator, and enter the room. You will find a Fat Official and two Scale Miners. Piercing Attacks are effective, against them. Beware of the fire spells the Fat Official can cast.
After the fight, head to the balcony on the left to loot the hanging corpse for a Crushing Battle Axe +1. Inside the room there is also a lootable body, at the side of some furniture, you can loot x1 Renowned Warrior Soul from it.
Leave the room from the balcony you originally entered and take the elevator up again. Wait until the elevator goes all the way to turn around and enter the balcony where you got off initially. If you go all the way down on the elevator, you can find x1 Stone of Ephemeral Eyes.
The Miner's Path
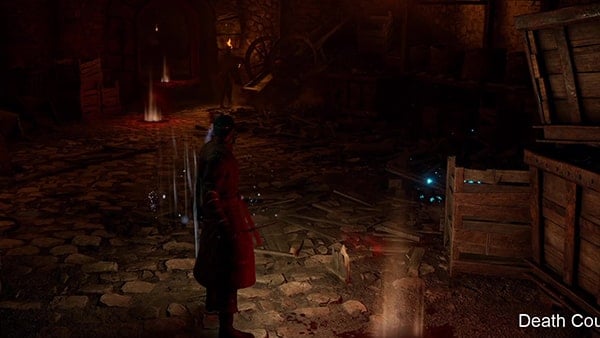
This time turn left and head forward, you will find five Scale Miners, two on your left, and three on your right. Take the small corridor, and be ready to fight again. In the next room, there are six more Scale Miners. Deal with them. Beware of the jars at the end of the room, if you get too close three Dogs will come lunging at you, and a Fat Official further down that room, casting fire spells at you.
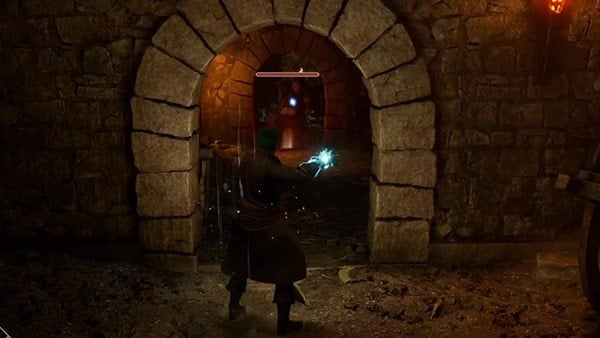
Once you've dealt with them, enter the room that Fat Official was in. There are two corpses to loot. You can obtain x1 Hardstone Chunk and x1 Sharpstone Chunk, from the corpse on the right and also, x4 Clearstone Shard from the body on the left.
Go back to the previous room and turn left, you will notice a small door frame. Behind it, to your right, there is a hidden Scale Miner waiting to ambush you. Stop it from getting the jump on you, and kill him. Now turn left and go along the corridor.
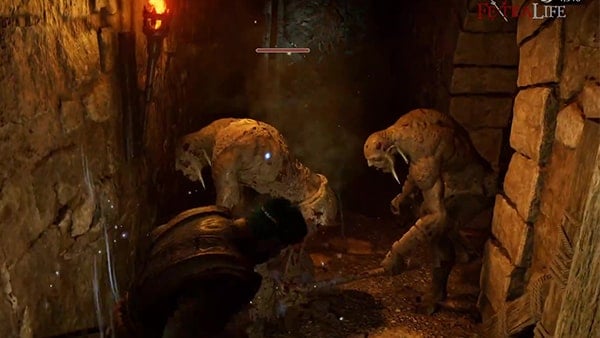
You should find yourself at Point C on Map 1. Go up the stairs, and immediately when you turn right there are two more Scale Miners. At the end of the tunnel, there is a corpse containing x4 Crescent Moon Grass. Keep going and enter the gateway at your right. There is another corpse, this one contains x1 Pickaxe.
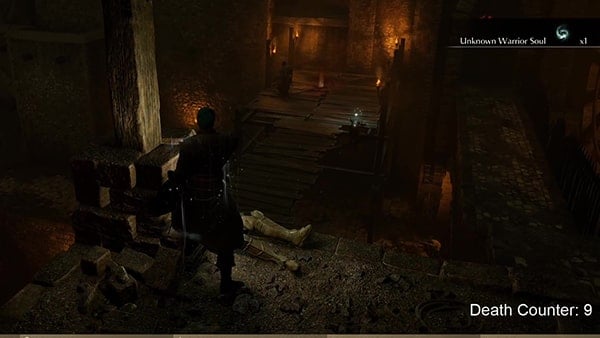
Turn back and keep going up through the corridor's stairs. You will arrive at a wooden platform. Don't stand still, as there is a Fat Official casting fire spells on the other side. There is a wooden bridge, but trying to cross it will cause it to crumble, leaving only the left wooden beam to cross. You can run straight across before it breaks. There is a lootable corpse that contains x1 Renowned Warrior Soul.
Once the Fat Official is gone, attempt to cross the bridge and jump down. Turn back, and go left twice. There are multiple Scale Miners and across a little stone bridge another one. Keep moving forward and turn right to cross the wooden bridge. You will find two Scale Miners.
Turn right and go along the corridor, you will find two groups of three Scale Miners each. On the left side of the last group, there is a lever. Pull it to open the door located at the end of the corridor, at the right side to where the Fat Official was.
Past the Fog Door
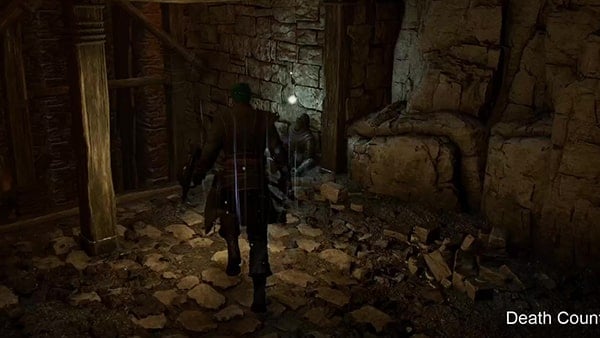
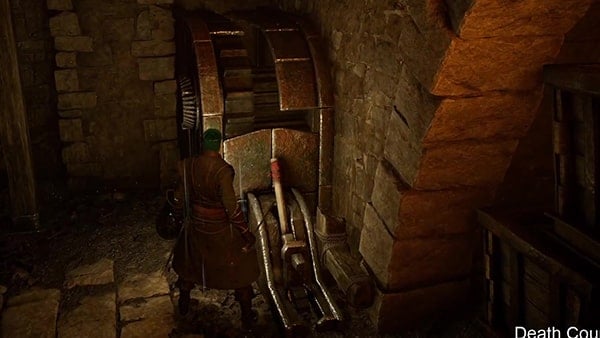
Go back to the building you just came from, go on top of it, and go along the corridor to reach a fog-covered door. Enter it. Before going up the ramp, check the right side to find x1 Meltstone Shard off a corpse, it's next to the large rotating wooden cog. Take the wooden ramp in front of you, turn left move forward and take the second wooden ramp up. Near the wall, you will find a lootable corpse containing x2 Half Moon Grass.
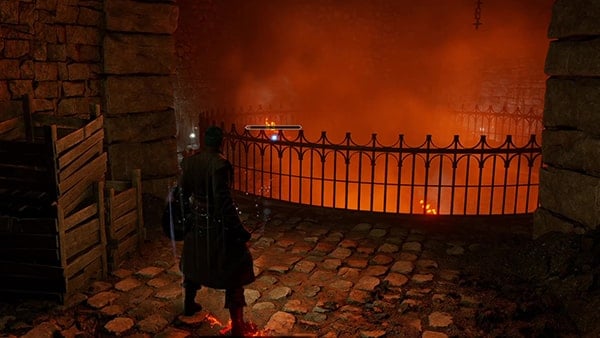
Turn back and cross the wooden bridge that was behind you. Now turn left. on your side, there is a room filled with Fire Lizards and a lootable body that contains x1 Dragonstone Shard and x1 Elixir. Leave the room, turn right, and press on forward. You will find three Scale Miners, kill them.
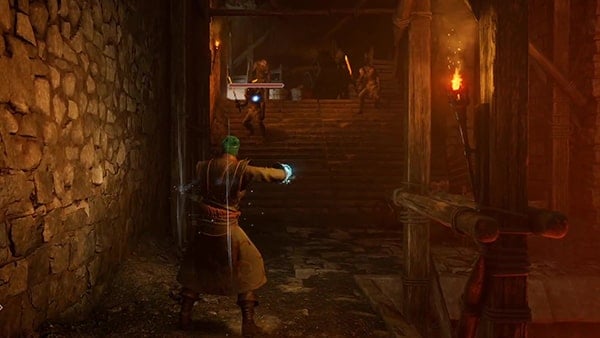
There's a gate covered with fog on your left, but first, just keep going forward. Destroy the debris blocking your path. Keep going to fight four Scale Miners. Keep going forward and you will arrive at a cliff. Turn to your left and go forward to find a lootable corpse that contains x1 Unknown Hero Soul.
Make a U-turn and go forward to the wood structure. There's another corpse there. This one contains x2 Crescent Moon Grass. Go all the way down the structure to reach a lever. Use it to activate the elevator on your left, this will unlock a shortcut.
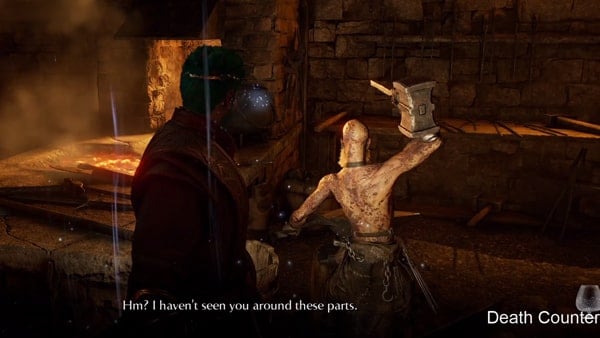
If you stay on the elevator until it goes all the way down, you will encounter Blacksmith Ed, he can upgrade your Weapons and also forge some Unique ones given the right materials. Heading to the gate at the right of the room will lead you outside to find a lootable corpse that obtains x1 Renowned Hero Soul.
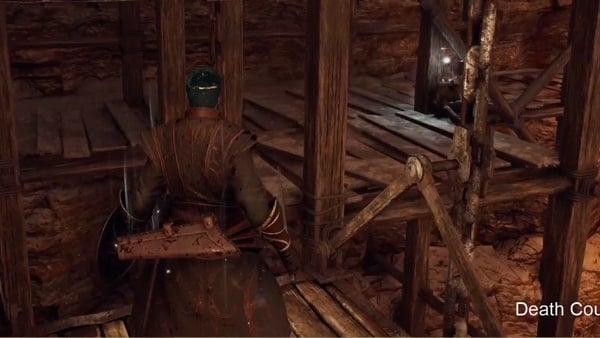
Take the elevator again, this time going up. There's a mid-level you can fall to from the elevator, to loot a corpse that gives you x1 Clearstone Shard.
Past the Second Fog Door
Get on the elevator again to go all the way up. Move forward and turn left to enter the cave again. Keep going until you reach the fog door at your right, this time go through it. Go through the corridor's stairs. When you have to turn left, you'll find a Scale Miner there. Kill it and keep going.
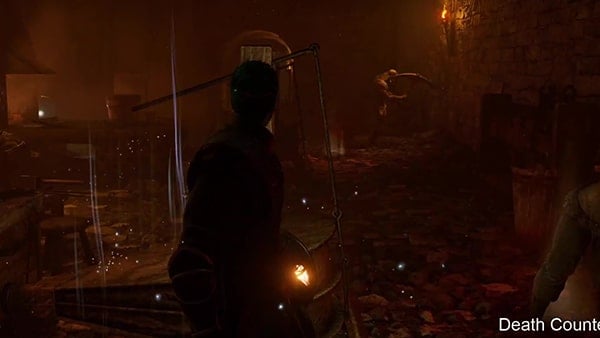
You will arrive in a room that resembles a workshop. There are five Scale Miners. Get rid of them. In the middle of the room, there is a corpse. Loot it to obtain x1 Large Hardstone Shard. Head through the tunnel at the end of the room, there is another Scale Miner.
On your right, there is a wooden beam that will crumble if you try to pass it. To reach the loot on the other platform you will have to quickly make a roll. If you make it, in the platform you may loot x1 Unknown Warrior Soul on two bodies and finally x1 Great Club. Unfortunately, you will have to drop down and get to where you were on foot.
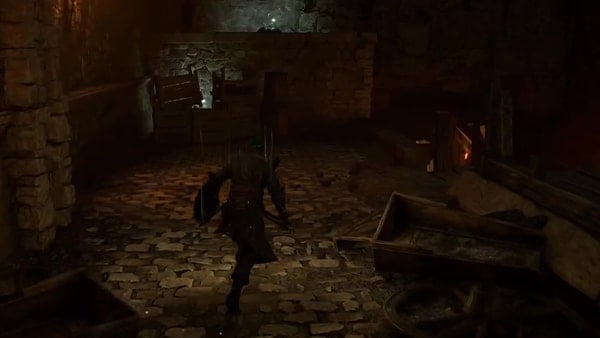
Once you pass the workshop again, this time turn to your left. There is a horde of Scale Miners, watch out for the other two at the back throwing large rocks. Try to lure them 1 by 1. Once all of them are killed, keep going, and destroy the wooden cart at the end of the path to loot a body. This will grant you x1 Steel Shield. See Point E on Map 2.
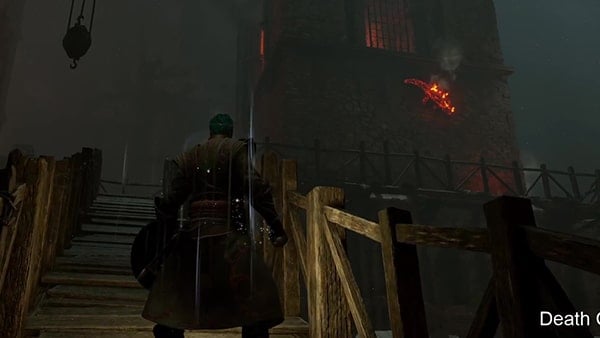
Make a U-turn, head left along with the wooden structure, take the stairs, and keep going. Turn right and continue going upward. On this platform, you will find 4 Fire Lizards, and a body containing x1 Dragonstone Shard at the corner of the structure. Keep heading down and you will find three Dogs. Left from where you came, there's a body containing x2 Ed's Sharpening Stone. Turn back and go the other way.
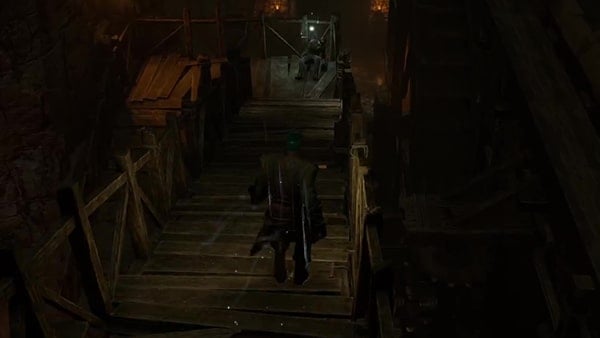
Keep heading down the wooden structure, you will reach another corpse. This one contains x1 Half Moon Grass. Turn left and keep heading downward. Under the stairs there's another body, this one contains x1 Unknown Hero Soul.
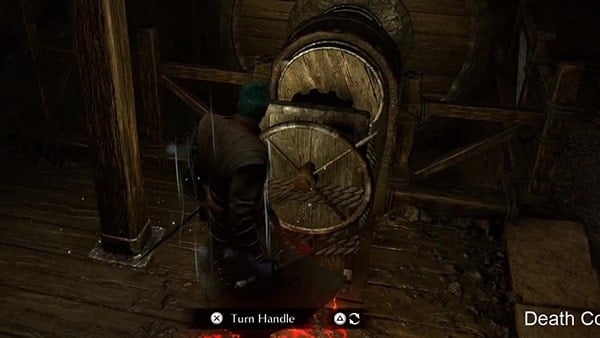
There are five Scale Miners here, kill them and turn on the lever. This will activate a cutscene. After you resume control, go back to the room where you fought the horde of Scale Miners, take the stairs down and loot the bodies on the ground. You get x1 Large Sharpstone Shard and the other one has x4 Half Moon Grass.
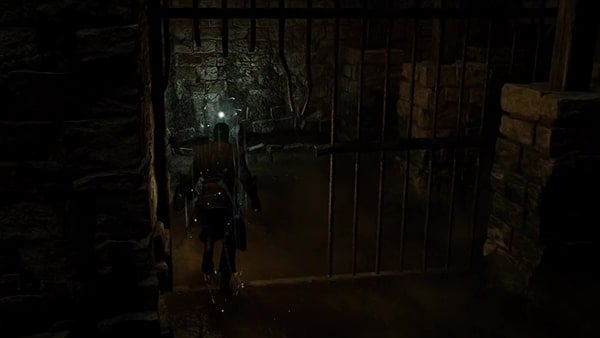
There's another body if you turn back and head through the hole in the grille. Pass through it and loot that body. It has x1 Ring of Poison Resistance. Head back upwards through the other set of stairs. You will reach a small tunnel, don't rush through it. The next room is filled with explosive barrels and there's a Fat Official on the other side of it, shooting fire spells.
Lure the Fat Official to shoot and destroy the barrels without hurting you. You can loot the Fat Official's body to find x1 Full Moon Grass and x1 Official's Leggings. Once the Fat Official is gone, you can traverse the fog door behind him.
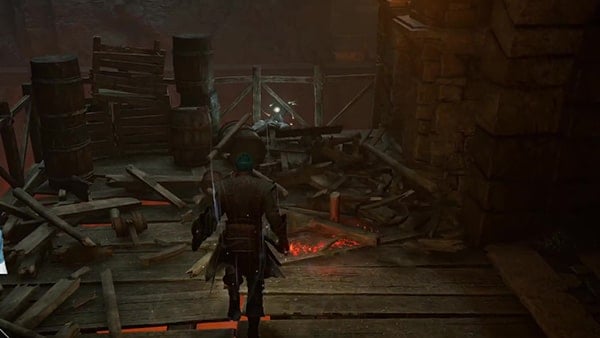
To your right, smash the wooden cart to loot x1 Stone of Ephemeral Eyes. Keep going through the wooden structure. Look above and walk a bit, a Scale Miner will try to drop a boulder on you before it jumps down, so be cautious. Once defeated, keep going and you will find a large elevator.
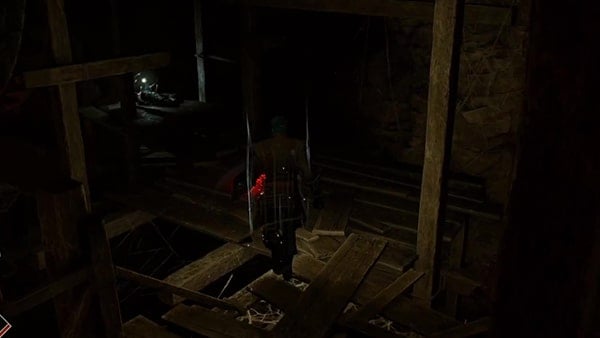
Don't jump on it yet, turn to your left and keep going up the wooden structure. Turn left again and go until the end of the platform to loot x1 Kris Blade. Now go to the elevator and turn the handle over it. Once you are down, don't go to the fog door yet. Turn left and follow the rails until you find a body. You can loot x1 Spiderstone Chunk.
Boss Battle: Armor Spider
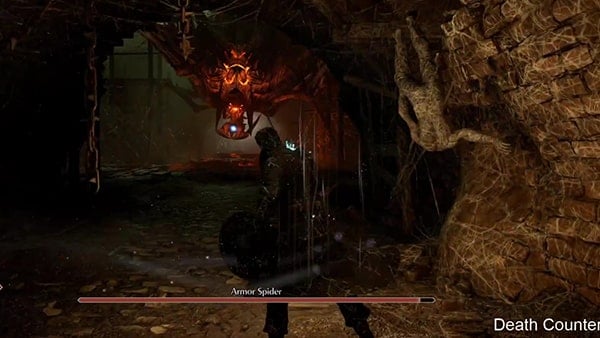
Turn back and head through the fog to face the Armor Spider. Once you've defeated the boss, you can loot a body on the left side that contains x1 Renowned Warrior Soul. At the end of the room, on the right, you can find x1 Spiderstone Chunk. Touch the Archstone to receive x1 Hard Demon Soul and x1 Pure Spiderstone. To end the area, return to The Nexus.
Ceramic Coins Location
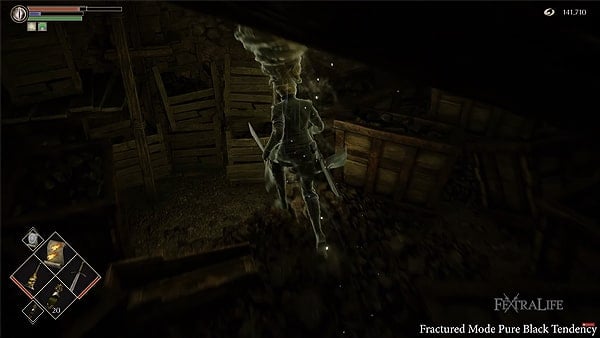
In this area, you'll be able to find a Ceramic Coin, players, on the other hand, must acquire Pure Black World Tendency for this item to appear. To find it, head towards the area with the lava lizards, after you get attacked by the dogs, go to the next area down the slope and break wooden boxes near ore smelting pots. Video Location: Shown in our walkthrough video at 10:00. Click here to watch it.
Smithing Grounds Video
Smithing Grounds Map
Smithing Grounds Trivia & Notes
 Anonymous

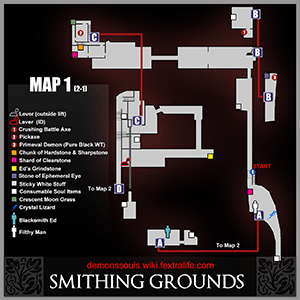
In what sense is "The kings tower" previous? That's where the final boss is!
1
+10
-1